 blog
Affordable Ways to Update Kids Room Wall Art on a Budget
Last Updated: November 5, 2026
Quick Summary
The cheapest way to update kids room wall art is to print downloadable art at home, mix price tiers so one larger piece anchors the room, and use simple DIY projects like washi tape galleries or fabric hoops. Swapping art refreshes a room in an afternoon without repainting or new furniture.
- Printable downloads are the lowest-cost option; print on heavier cardstock for a sturdier feel.
- Mix tiers: one larger piece above the bed, with lower-cost prints on the smaller walls.
- Test a small strip of washi tape in a hidden corner before creating a full gallery.
- Hang art with its center roughly at your child's standing eye height, and never above a bed or crib.
- Match removable adhesive strips to the weight rating and stay well under the combined limit.
Table of Contents
- Why Wall Art Is the Fastest Way to Refresh a Kids Room
- Budget Tiers: What Each Price Range Gets You
- Printable Art: Free and Low-Cost Downloads That Work
- How to Frame Kids Artwork Without Spending a Fortune
- DIY Kids Room Decor Projects You Can Finish in an Afternoon
- Hanging Art Safely and Without Damaging Rental Walls
- Planning Your Next Kids Room Art Update
- Frequently Asked Questions
Why Wall Art Is the Fastest Way to Refresh a Kids Room
Wall art is one of the quickest ways to change how a child's room feels. A single new print can shift the mood of a nursery, and it typically takes less than an afternoon to hang.
Kids outgrow their decor fast. A nursery theme that suits a newborn rarely works for a preschooler, and a toddler's bedroom can feel babyish by the time they start school. Swapping out wall art lets you update the room without repainting or buying new furniture.
- Art changes the look of a room without major work
- You can refresh the space as your child's interests shift
- Most updates need only a few tools and one wall
Here is the simple truth: you do not need a big budget to make a room feel new. You need a plan for where the art goes and what it should say about your child.
Budget Tiers: What Each Price Range Gets You
Pricing depends on size, paper or canvas quality, framing, and how many pieces you buy, so the tiers below are general patterns rather than fixed figures. Check current pricing on our Etsy shop before you plan a purchase.
- Lowest tier: Printable downloads you print at home, usually the cheapest route. Quality depends on your printer and paper.
- Middle tier: Ready-to-hang prints on standard paper or simple framed pieces. This tier suits most families who want a finished look.
- Higher tier: Larger canvas or heirloom-style prints meant to last for years. These work well as a long-term anchor for a room.
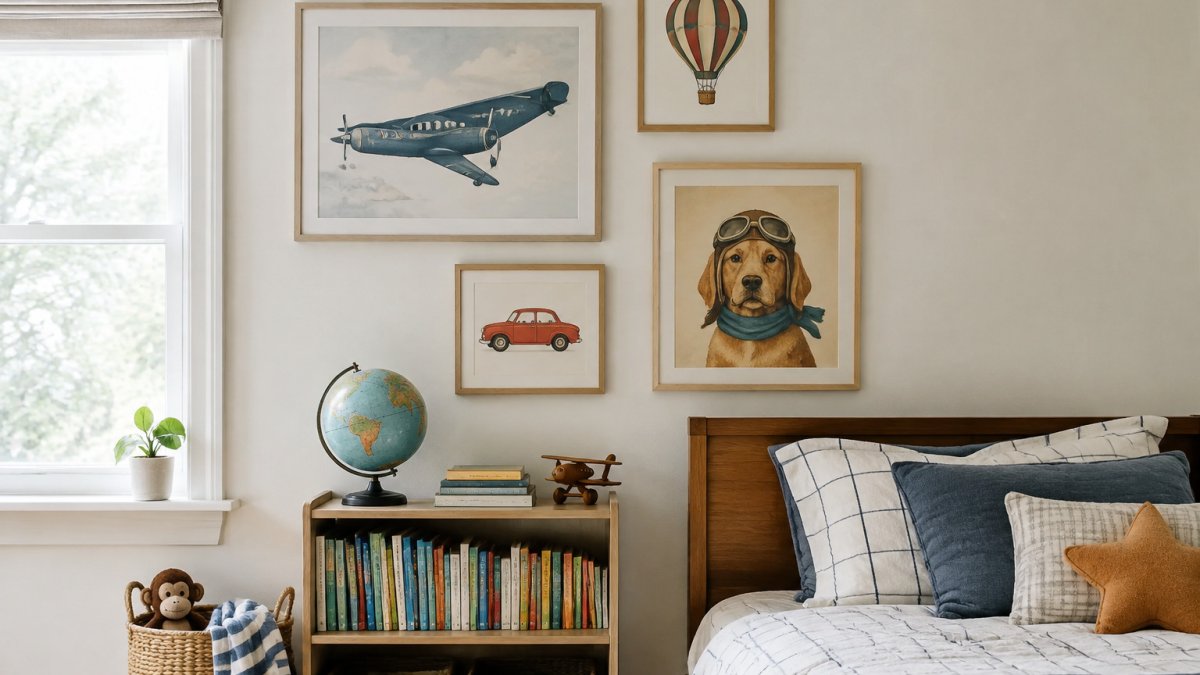
A common approach is to mix tiers. Put one larger piece above the bed as a focal point, then fill the smaller walls with lower-cost prints. This keeps the room cohesive without spending the full budget on every wall.
The article describes three general price tiers, each tied to a different kind of purchase.
| Tier | What it is | Best for |
|---|---|---|
| Lowest tier | Printable downloads printed at home | Cheapest route; quality depends on printer and paper |
| Middle tier | Ready-to-hang prints or simple framed pieces | Families wanting a finished look |
| Higher tier | Larger canvas or heirloom-style prints | Long-term anchor pieces for a room |
Printable Art: Free and Low-Cost Downloads That Work
To get good results at home:
- Use heavier paper, such as cardstock, for a sturdier feel
- Check the file size so the print is not blurry at your chosen dimensions
- Print a test page first to confirm colors look right on your printer
- Choose a frame size that matches the print, not the other way around
Keep an eye on licensing. Only print files you have the right to use, such as files bought from a legitimate seller or released for personal use. You can also read a guide to printing wall art at home covering the right paper, printer settings, and sizing.
How to Frame Kids Artwork Without Spending a Fortune
Framed children's artwork can look great on a wall. Framing is often a significant cost, so plan it carefully. Here is a simple process:
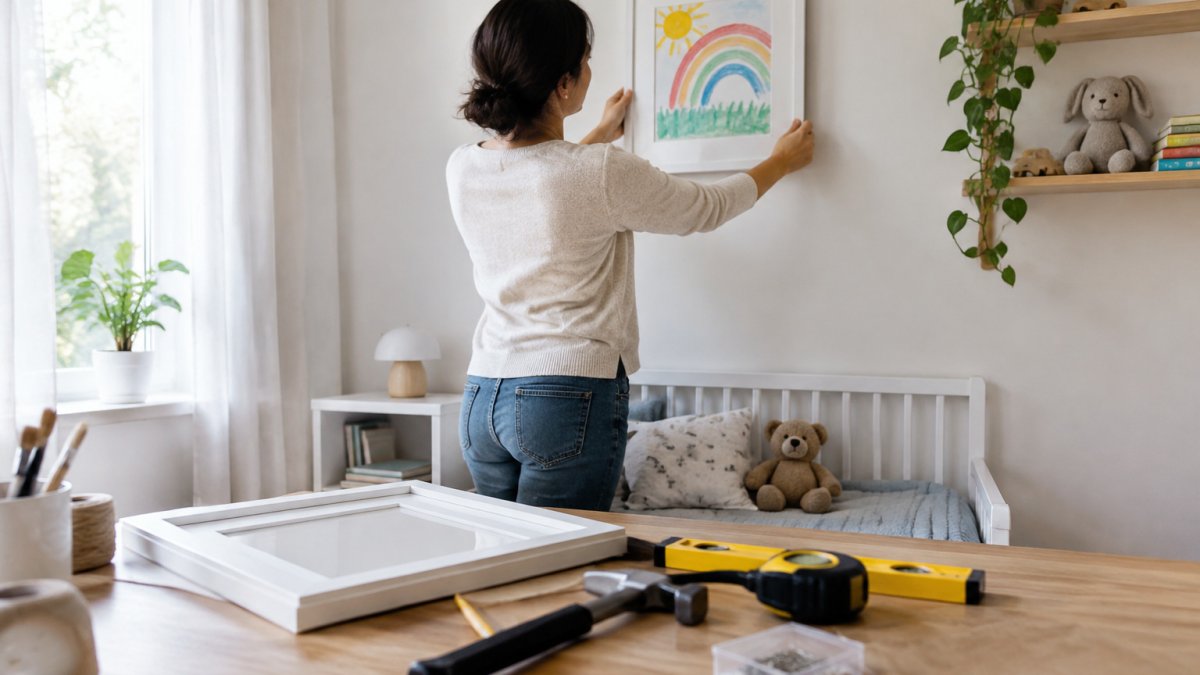
- Choose a frame style that suits the room, such as simple white or natural wood
- Measure the artwork and buy a mat or frame just larger than the piece
- Use acid-free mats and backing to help the artwork last longer
- Pick a frame with glass or acrylic to protect the piece from dust and light
- Hang it at eye level for the child
Watch out: Original kids artwork can fade if it sits in direct sunlight for long periods. Place framed pieces away from strong window light when you can.
Many families frame a rotating set of drawings so the wall changes each season. A few frames can hold many pieces over time. If you'd rather skip the framing work entirely, ready-made options like our Watercolor Nursery Art collection can give a nursery a finished look.
DIY Kids Room Decor Projects You Can Finish in an Afternoon
DIY is where a kids room wall art budget stretches furthest, because you are trading money for time and a little planning. The projects below are organized from least to most involved, and each one uses materials you can buy at a craft store or hardware store. None of them require power tools.
Washi tape gallery (lowest cost, least commitment). Washi tape is low-tack paper tape that is often used on painted walls, which makes it a popular choice for renters. Tape a border around a drawing, a photo, or a printed quote directly on the wall. Use two parallel strips to create a frame line, or lay out a grid of four to six pieces for a gallery effect.
Fabric hoop art (low cost, soft texture). Wooden embroidery hoops come in sizes from about 4 inches to 12 inches and cost a few dollars each. Stretch a scrap of fabric, a leftover from curtains, a bandana, or a piece of patterned cotton, over the inner ring, tighten the outer ring, and trim the excess. Hang with a small nail or a removable hook. Hoops are lightweight, so they are a good choice above a dresser or shelf where a heavier frame would be a hazard.
Painted canvas board (medium cost, high impact). Canvas boards are cheaper than stretched canvas and rigid enough to hang without a frame. Paint a simple shape, a rainbow arc, a mountain range, a single animal silhouette, using acrylic paint. If your child is helping, use child-safe tempera or washable acrylic and cover the work surface. Let it dry fully, then hang with two small hooks or a sawtooth hanger.
Photo collage (medium cost, most personal). Print favorite family photos or your child's own drawings at 4x6 or 5x7, then arrange them in a grid of matching frames. Buying one style of inexpensive frame in bulk keeps the wall cohesive. Measure the total grid before you hang anything: lay the frames on the floor, mark the spacing, and transfer the measurements to the wall with painter's tape.
Repurposed toy or object display (low cost, rotating). A shallow shelf or a row of small ledges can turn toys, figurines, or nature finds into wall decor. This works especially well for school-age kids whose interests change often, because the display can be rearranged without buying anything new.
Watch out: Washi tape and removable adhesives can still damage some finishes, especially fresh paint, wallpaper, or textured walls. Test a small strip in a hidden corner before committing to a full gallery.
Keep projects simple enough that your child can help. Involving kids makes the room feel more personal, and they often take pride in seeing their work on display. A good rule is to let your child choose the colors or the subject while you handle the measuring and hanging.
Hanging Art Safely and Without Damaging Rental Walls
This is the section most budget wall-art guides skip, and it is the one that matters most in a kids room. Safe hanging is about weight, height, and the right fastener for your wall, not about spending more money.
Match the fastener to the weight. Removable adhesive strips are typically rated by weight, usually in pounds, so check the package rating before hanging. A common pattern is to use two strips for a light frame and four for anything larger, and to stay well under the combined rating.
Hang at your child's eye level, not yours. A common mistake is hanging art at adult eye level, which leaves a young child looking at the bottom edge of every frame. A practical guide is to place the center of the artwork roughly at your child's standing eye height, lower for toddlers, higher as they grow.
Keep heavy pieces away from beds and cribs. Never hang a heavy frame, mirror, or shelf directly above a crib, bed, or changing table. Even a well-anchored piece can fail, and the risk is not worth the look. Put the anchor piece on a wall the child does not sleep against, and use lightweight prints or decals above the bed instead.
Rental-friendly options that release cleanly. Removable adhesive strips and hooks are the standard rental solution, but they are not the only one. Always test a strip on a hidden patch of wall for a day before hanging a full arrangement, because some paints and finishes release differently.
Check and re-check. Adhesive strips lose grip over time, especially in humid rooms or above heaters. Press the strips firmly for the full time the package recommends before hanging, and check every few months that frames are still level and secure.
Watch out: Hanging wire and cords should be kept out of a child's reach, and any frame within a child's arm span should be lightweight or firmly anchored. A single small hook for a large frame is the most common failure, two hooks spread apart distribute the weight and keep the piece level.
None of these methods require special tools. A level, a pencil, a tape measure, and the right fastener will handle most kids room wall art projects on a budget.
Planning Your Next Kids Room Art Update
Plan updates around your child's age and interests. Choose a few pieces that can stay for years, then use smaller, cheaper prints for changes. This approach keeps the room fresh without constant spending.
Start with one wall, then add pieces over time. A simple plan:
- Pick a color palette that works with the room's paint and furniture, using this guide to matching art to nursery color palettes.
- Select one anchor piece for the main wall
- Add two or three smaller prints or framed drawings
- Swap the smaller pieces as your child's interests change
If you're looking for a piece to anchor the room, our Watercolor Art prints may suit many nursery and kids room palettes.
Get started by choosing one piece this week. A small change can make the whole room feel new again, and you can build from there.
Frequently Asked Questions
How do I display artwork in a kids room without buying expensive frames?
Simple frames from discount retailers, clip-on picture ledges, and washi tape or binder clips on a fabric-covered board all work well for kids' artwork at low cost. Choose a consistent frame color so mismatched pieces look intentional, and rotate pieces every few months to keep the display fresh without buying anything new. Mounting artwork at the child's eye level makes it feel personal and keeps the display easy to change.
What is the 2/3 rule for hanging wall art?
The 2/3 rule is a common guideline that suggests wall art should fill about two-thirds of the width of the furniture beneath it, such as a bed or dresser. For a crib or bed with a 60-inch headboard, a grouping or single piece around 40 inches wide creates balance. Hanging the center of the art roughly 57 to 60 inches from the floor is a widely used starting point, then adjusted for the room's proportions.
What are the best budget-friendly materials for DIY kids wall art?
Foam board, canvas panels, cardstock, and recycled cardboard are inexpensive bases that hold up well. Acrylic paint, washi tape, and fabric scraps add color and texture without much cost. Thrift-store frames can be repainted to match the room's palette. Choosing materials that are non-toxic and sealed properly keeps the art safe within a child's reach.
Can wall art be updated as my child grows?
Yes. Choose a neutral base of a few larger pieces that suit a range of ages, then layer in smaller prints, children's own artwork, or themed pieces that reflect current interests. Swapping only the smaller elements every year or two keeps the room current while keeping costs low and the core look intact.
Ready to give your child's room a fresh look? Explore our curated nursery and children's prints at RunwayandHeirloomArt, where each piece is chosen to tell a story and last for years.