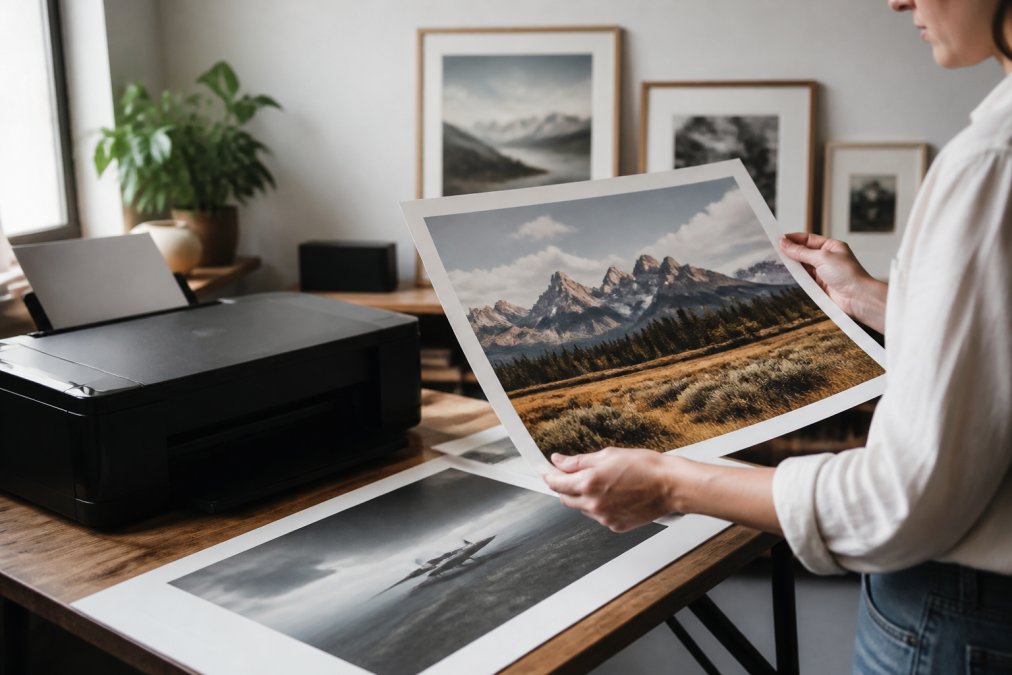
 how-to
How to Print Wall Art at Home: A 2026 Guide
Table of Contents
- What You Need Before You Start Printing
- Choosing the Best Paper for Art Prints
- How to Resize Digital Art for Printing
- Home Printer Settings for High Quality Prints
- Step-by-Step: How to Print Wall Art at Home
- Home Printing vs. Professional Printing Services
- Framing, Mounting, and Caring for Your Prints
- Common Mistakes and Troubleshooting Tips
- Frequently Asked Questions
Last Updated: September 11, 2026
What You Need Before You Start Printing
The global wall art market is valued at roughly $70.94 billion in 2026 and is projected to reach $145.49 billion by 2034, growing at 9.39% annually, according to Fortune Business Insights wall art market analysis. That growth tells you something useful: more people are treating printed art as a real part of their home, not an afterthought. More people are treating printed art as a real part of their home, not an afterthought. Customers often want to know how to print wall art at home without losing the quality that made them buy the file in the first place.
Here's the honest truth most guides skip: your printer is rarely the limiting factor. Your paper choice, file resolution, and color settings decide whether a print looks like gallery work or a school project.
Before you print anything, gather four things:
- A digital file at 300 DPI at your intended output size
- Fine art or matte paper rated for inkjet printing
- Your printer's ICC profile for that specific paper
- A clean, dust-free workspace to avoid surface marks
Choosing the Best Paper for Art Prints
The best paper for art prints balances weight, finish, coating, and ink compatibility. For most home setups, a 200-300 GSM matte or luster fine art paper delivers archival quality without a professional printer, but the spec sheet only makes sense once you know what each number does to ink.
Weight (GSM) is a proxy for stiffness and ink capacity, not quality. GSM measures mass, not thickness: a 250 GSM cotton rag and a 250 GSM resin-coated photo paper feel completely different because caliper and base material differ. Standard copy paper (~75 GSM) buckles under heavy ink coverage, while fine art paper starts near 200 GSM. Heavier sheets resist curling, but past roughly 310 GSM most consumer inkjets struggle to feed through a curved paper path, you'll need a straight-feed or rear-feed tray.
Coating decides how ink sits on the surface. Uncoated matte stocks let pigment ink absorb into the fiber for soft edges and a flat, painterly look. Microporous and resin-coated (RC) luster and glossy stocks hold ink on top, delivering deeper blacks and sharper detail, and sometimes gloss differential and bronzing on pigment printers. Baryta papers combine a barium-sulfate layer with a glossy topcoat to mimic darkroom fiber paper.
Texture is a design decision, not a default. Smooth matte suits minimalist botanicals and typography. Textured cotton rag flatters watercolor reproductions because the tooth of the paper mimics the grain of watercolor stock, which is why our watercolor nursery art collection reads best on soft, absorbent stock. Luster sits between matte and gloss, offering slight sheen without glare under a frame. Canvas introduces a woven surface that visually softens fine linework, great for large statement pieces, less ideal for detailed illustrations.
Match paper to ink chemistry. Pigment inks sit on the surface and pair best with coated or baryta stocks; dye inks soak in and often look richer on swellable or porous matte papers. Using the wrong pairing is the single most common cause of a print that looks muddy on one sheet and crisp on another from the same file.
Paper Weight and Texture Guide
| Paper Type | Weight (GSM) | Caliper (mils) | Best For | Finish | Ink Pairing |
|---|---|---|---|---|---|
| Smooth matte | 200-250 | 8-10 | Minimalist prints, botanicals | Flat, no glare | Pigment or dye |
| Cotton rag | 250-310 | 12-19 | Watercolor, giclée reproductions | Textured, absorbent | Pigment preferred |
| Luster (RC) | 240-280 | 9-10 | Photography, detailed artwork | Slight sheen | Pigment or dye |
| Baryta | 290-320 | 12-14 | Black-and-white photography | Glossy, fiber-like | Pigment |
| Canvas | 350+ | 15-20 | Large-format statement pieces | Woven texture | Pigment |
How to Resize Digital Art for Printing
Resizing digital art for printing means matching your file's pixel dimensions to the physical print size while keeping at least 300 DPI. A 300 DPI file needs 3,000 pixels across for a 10-inch print, multiply your target width in inches by 300 for your minimum pixel count. Upscaling software can help a short file, but it cannot invent detail that was never captured. Watch your aspect ratio, too: a 2:3 file forced into an 8x10 frame crops roughly 17% of the image.
Understanding DPI, PPI, and Aspect Ratio
DPI (dots per inch) describes how many ink droplets a printer places per inch. PPI (pixels per inch) describes image resolution. For print purposes, the two are used almost interchangeably, and 300 is the practical target for both.
Aspect ratio is the relationship between width and height. Standard print sizes like 8x10, 11x14, and 16x20 don't all share the same ratio, so cropping is often unavoidable.
Home Printer Settings for High Quality Prints
Home printer settings for high quality prints come down to four choices: paper type, print quality, color mode, and scaling. Select the exact paper profile in your print dialog, not "Plain Paper." Choose the highest quality setting, often labeled "Best" or "Photo." Set scaling to 100% and disable "Fit to Page," which silently resizes your file. Pigment inks resist fading far better than dye inks; if your printer uses dye ink, plan on framing behind UV-filtering glass.
Color Management and ICC Profiles
An ICC profile tells your printer how to translate digital color values into physical ink output for a specific paper; without one, your print shifts toward the manufacturer's default. Download the ICC profile for your exact paper from the paper maker's site, install it, and select it during printing. Then soft proof the image to simulate on screen how the print will look. Expect some shift between RGB (screen) and CMYK (print), that gap is normal, and profiles narrow it.
Step-by-Step: How to Print Wall Art at Home
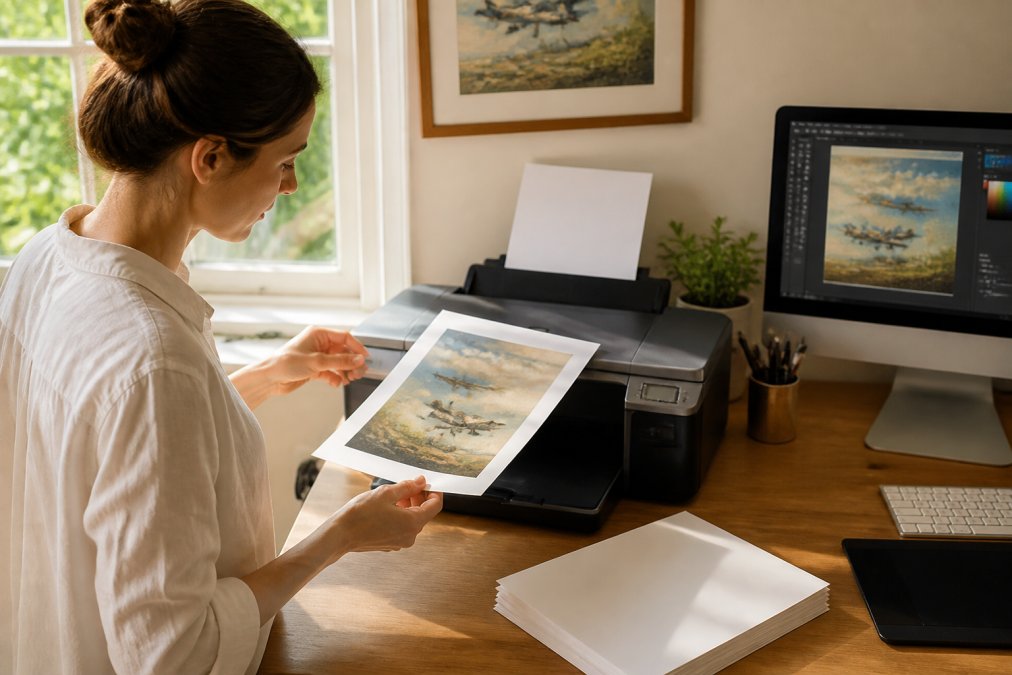
Follow this sequence and you'll avoid the most common print failures:
- Confirm your file is 300 DPI at final size.
- Crop to your target aspect ratio.
- Install and select the correct ICC profile.
- Load one sheet of paper at a time, print side up.
- Set quality to maximum and scaling to 100%.
- Run a test print on plain paper first.
- Let the print dry 24 hours before framing.
That test print costs a few cents and catches color drift before you commit an expensive sheet.
Home Printing vs. Professional Printing Services
Home printing wins on speed, control, and cost up to 13x19 inches; professional services win for anything larger and for archival giclée output. The right answer is usually a hybrid, decided by size, ink cost, and what you're legally allowed to print.
Size is the first hard cutoff. Standard office printers typically cap out around letter and A4 sizes. Consumer photo inkjets like the Epson SureColor P700 or Canon imagePROGRAF PRO-300 handle up to 13x19 inches (Super B). Anything beyond that, 16x20, 18x24, 24x36, pushes you toward a local print shop, an online lab, or a wide-format service bureau. As Nesting with Grace's guide to affordable art printing notes, many people use local printing services for large-format downloads and reserve home printing for 8x10 or smaller. That hybrid approach balances cost against quality.
Cost math favors home printing, until you factor ink. A single 8x10 on 250 GSM fine art paper runs roughly $0.60-$1.20 in paper plus ink at home, versus $3-$8 at a retail lab. But a full set of pigment cartridges for a 13-inch photo printer can run $150-$250, and heavy coverage prints can drain a cartridge in 20-40 sheets. Print fewer than a dozen pieces a year and a lab is almost always cheaper; print regularly and home wins within the first year.
Color accuracy is closer than the marketing suggests. A well-calibrated home setup with the correct ICC profile can match a mid-tier lab for most artwork. Labs still win on consistency, same paper, ink, and profile every day, so reorders match. Home printers drift as nozzles clog and cartridges age, which is why periodic nozzle checks and re-profiling matter.
Archival life depends on ink chemistry, not location. Pigment inks on acid-free cotton rag can last 100+ years under UV-filtering glass, at home or at a lab. Dye inks fade faster, often within a decade in direct light, so confirm the printer uses pigment ink if longevity matters.
The legal question most guides skip: what are you allowed to print? Three scenarios cover almost every home print:
- Your own photography or artwork. You own the copyright the moment you create it. Print freely, at any size, for personal or commercial use.
- Digital downloads you purchased. What you bought is a license, not the copyright. Most Etsy and marketplace listings grant personal-use rights only, print for your own wall, but not resell, gift in bulk, or use commercially. Read the listing's terms; some sellers offer separate commercial licenses.
- Copyrighted works you found online. Movie posters, album covers, sports logos, and most museum images are protected. Printing them for personal display is a gray area; reproducing them for sale is infringement. Public-domain sources, the Library of Congress, the National Gallery of Art's open-access collection, and works published before 1930, are safe to print and sell.
| Factor | Home Printing | Professional Service |
|---|---|---|
| Max size | 13x19 in | 40+ in |
| Cost per 8x10 | ~$0.60-$1.20 | ~$3-$8 |
| Upfront cost | $200-$800 printer + ink | $0 |
| Turnaround | Immediate | 1-5 days |
| Color accuracy | Good with profiles | Excellent, consistent |
| Best for | Small prints, quick swaps, licensed downloads | Large formats, gifts, archival giclée |
Framing, Mounting, and Caring for Your Prints
Framing protects your print from the two things that destroy art fastest: UV light and moisture. Use acid-free mats and backing board, and keep prints out of direct sunlight. Mounting options range from photo corners, which let you swap prints without damage, to dry mounting, which flattens the sheet permanently but is irreversible. For long-term pieces, photo corners plus an acid-free mat give you flexibility without risk. Handle prints by the edges only, oils from fingertips show up on matte surfaces and can't be removed.
Common Mistakes and Troubleshooting Tips
Most printing problems trace back to three causes: wrong resolution, wrong profile, or wrong paper setting. Diagnose in that order. Flat or washed-out colors mean a generic profile instead of the paper-specific ICC profile. Jagged edges mean your file is under 300 DPI at output size. Curling or ink pooling means the stock is too thin for the ink load.
- Banding across the image: run a nozzle check and clean the print head.
- Colors too dark: your monitor is too bright; calibrate it.
- White streaks: dust or a clogged nozzle; clean and re-test.
- Ink smearing: reduce ink density or switch to a matte stock.
Printing wall art at home rewards patience more than equipment. The gap between a disappointing print and a gallery-quality one usually comes down to paper choice, ICC profiles, and a 300 DPI file, not the printer itself. At RunwayandHeirloomArt, our digital download format gives you immediate access to watercolor nursery prints, historic aviation pieces, and art-history-inspired work, so you can print at the size and on the paper your space actually needs. Browse the collection, download instantly, and print with confidence.
Frequently Asked Questions
What kind of paper is best for printing wall art at home?
For gallery-quality results, look for fine art paper with a matte or luster finish and a weight of at least 200 GSM. Pigment-based inkjet printers work best with archival-quality papers that are acid-free. Popular choices include cotton rag and alpha-cellulose papers. If you plan to frame your print, a heavier paper (250-300 GSM) resists curling and feels more substantial. Always check that your paper is compatible with your printer type, since laser printers require different paper than inkjet models.
Can I print large-scale wall art on a standard home printer?
Most standard home printers max out at 8.5 x 11 inches or 13 x 19 inches for wide-format models. To print larger wall art at home, you can tile smaller sections and piece them together, or use a local print shop for oversized formats. For best results with large-scale art, you will need a large-format printer that supports roll paper. If you are printing wall art at home on a standard printer, stick to sizes your printer handles natively to avoid pixelation and alignment issues.
How do I resize digital art for printing without losing quality?
Start with a high-resolution source file, ideally 300 DPI at your target print size. Use image editing software to adjust the canvas size while maintaining the aspect ratio. Avoid upscaling beyond 120% of the original resolution, as this causes pixelation. If you need a larger print, look for vector files or higher-resolution downloads. Many digital art sellers provide multiple file sizes, so check for the largest available option before resizing manually. For the best results, always work from the highest-quality source file you can access.
How do I know my prints will last and not fade?
Print longevity depends on three factors: ink type, paper quality, and display conditions. Pigment-based inks last significantly longer than dye-based inks, often exceeding 100 years when paired with archival paper. Look for acid-free, lignin-free papers labeled archival quality. Keep prints out of direct sunlight and avoid high humidity. Framing behind UV-protective glass adds another layer of protection. If you are printing wall art at home for a nursery or heirloom piece, investing in pigment inks and archival paper is worth the extra cost for the longevity.