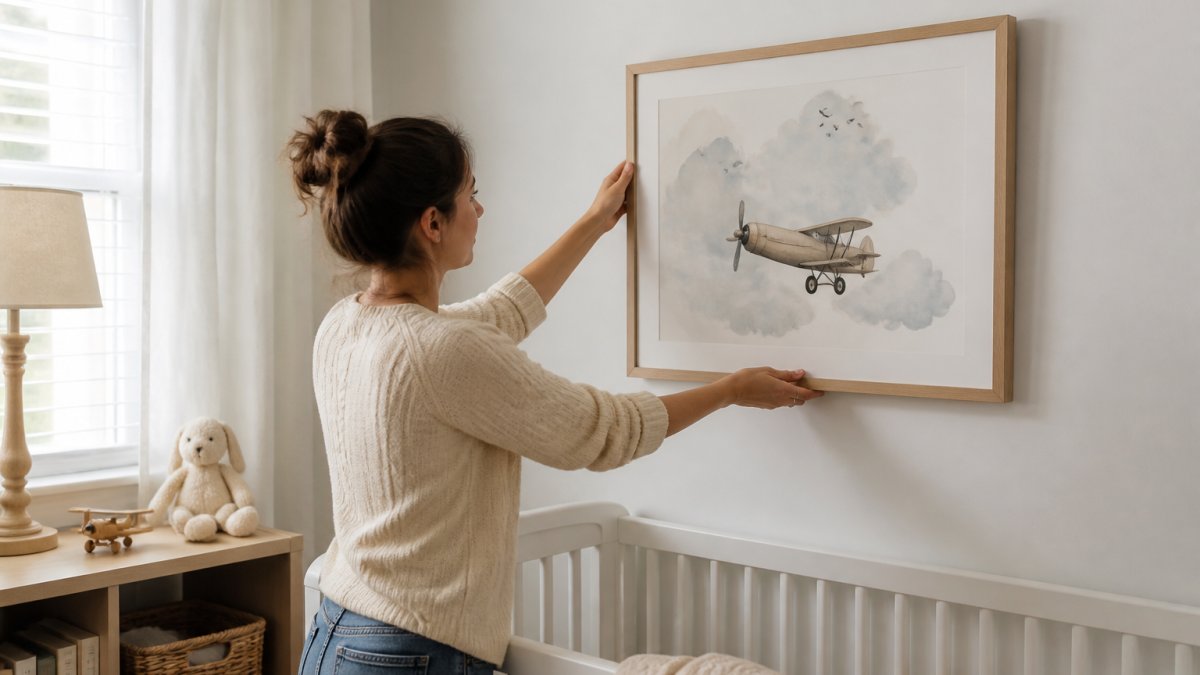
 how-to
How to Hang Nursery Art Safely: A Step-by-Step Guide
Table of Contents
- What You'll Need Before You Hang Nursery Art
- How High to Hang Nursery Wall Art
- Hanging Pictures Above a Crib Safely
- How to Secure Picture Frames to a Wall
- Best Wall Anchors for Hanging Pictures
- Step-by-Step Installation and Stability Check
- Common Mistakes to Avoid When Hanging Nursery Art
- Conclusion
- Frequently Asked Questions
Last Updated: October 6, 2026
What You'll Need Before You Hang Nursery Art
Hanging nursery art safely starts with one decision: keep heavy or glass-fronted pieces out of the crib zone. That single rule prevents most injuries, and everything else in this guide builds on it.
Here is your supply list:
- Stud finder and a pencil
- Tape measure and a spirit level
- Painter's tape and paper for templates
- Wall anchors rated for your wall type
- Screws, nails, and a screwdriver
- A helper for anything wider than 60 centimeters
If you are still choosing pieces, our Watercolor Nursery Art collection is printed on paper rather than glass, which lowers the weight and the risk.
How High to Hang Nursery Wall Art
The short answer: hang nursery wall art so the center of the piece sits at 57 to 60 inches from the floor. That is standard gallery height, and it works in most rooms.
For a nursery, adjust for the viewer. Adults and toddlers both look at the art, so split the difference. If the piece hangs over a crib, raise it well clear of the mattress and out of a standing child's reach. A good rule is at least 30 inches above the mattress top and at least 12 inches in from any edge of the crib.
- Over a dresser: 6 to 8 inches above the top surface
- Over a crib: higher than a standing toddler can reach
- In a playroom: at your child's eye level, roughly 36 to 40 inches
A common mistake is hanging everything at the same height as the living room art. Nurseries are viewed from the floor. Get down on your knees and look up before you commit.
Hanging Pictures Above a Crib Safely
The safest approach to hanging pictures above a crib is simple: don't. The crib zone is a no-hang zone for anything heavy, glass-fronted, or mounted above head height, and no published evidence shows that a clever mounting trick makes overhead art safer than moving it.
That said, parents ask for numbers, so here is how to think about the zones around a crib.
- Directly above the crib (the drop zone): treat this as off-limits for framed art, shelves, mirrors, and letter boards. Anything that can fall into the sleep space is a hazard, and a climbing toddler can reach higher than most adults expect.
- Within a toddler's standing reach (roughly 36 to 44 inches from the floor): keep glass, sharp corners, and anything over about 2 pounds out of this band. A two-year-old on tiptoe can grab a frame edge and pull.
- Beside the crib, above standing reach: this is the sweet spot. A lightweight, unglazed print hung on the wall parallel to the crib gives you the visual anchor without the overhead risk.
- Across the room: the safest place for anything framed, glazed, or heavier than a few pounds.
If you want art near the crib for the aesthetic, consider these lower-risk swaps:
- A canvas or wood print instead of a glass-fronted frame
- A fabric banner or felt garland mounted flat to the wall
- Removable wall decals applied directly to the wall surface
- A framed print hung on the opposite wall, visible from the crib but out of the drop zone
How to Secure Picture Frames to a Wall
Securing picture frames to a wall comes down to matching the fastener to the wall and the weight. A 2-pound print needs almost nothing. A 15-pound framed piece needs a stud or a proper anchor.
Start by weighing the art. Then check your wall type:
- Drywall: use a hollow-wall anchor rated above the frame's weight
- Plaster: drill first, then use a toggle anchor; plaster cracks under pressure
- Stud: drive a screw straight into the stud, no anchor needed
Add a safety margin. Choose hardware rated for at least twice the weight of the frame. For a step-by-step walkthrough of matching anchors to loads, the Consumer Product Safety Commission publishes guidance on anchoring furniture and wall items to prevent tip-overs and falls.
For lightweight art, a sawtooth hanger on the back of the frame plus a single nail or screw is enough. For heavier pieces, use a wire hanger rated for the weight, or better, two D-rings set wide apart.
Two hooks beat one. Hanging a wide frame from two points keeps it level and stops it from swinging when a door slams.
Best Wall Anchors for Hanging Pictures
The best wall anchor is the one matched to both your wall type and the actual weight of the piece, with a safety margin. In a nursery, that margin matters more than in a living room because kids bump, grab, and climb.
Start by weighing the art. A kitchen scale works. Then add the frame, glazing, and backing to get the total hanging weight. Choose hardware rated for at least twice that number.
| Anchor Type | Best For | Wall Type | Notes |
|---|---|---|---|
| Plastic sleeve | Light frames under 5 lbs | Drywall | Cheapest option; pulls out under sideways load |
| Self-drilling | Light to medium art | Drywall | No pre-drill needed; fine for prints under ~10 lbs |
| Toggle bolt | Heavy framed art | Drywall, plaster | Strongest hold; needs a larger hole |
| Molly bolt | Medium frames | Drywall | Good for hollow walls; less forgiving in plaster |
| Wood screw | Any weight | Stud | No anchor required; the gold standard when a stud is available |
Three things most guides miss:
- Anchors are rated for pull-out force, not sideways yank. A frame that holds fine when you tug straight out can rip free when a toddler swings on the bottom corner. Keep art out of grab range, not just out of drop range.
- Plaster behaves differently from drywall. Plaster cracks under point pressure, so drill a pilot hole and use a toggle bolt rather than a self-drilling anchor. In older homes, test a hidden spot first.
- Studs beat anchors every time. When a stud is available within the frame's width, use it. A screw into a stud has no pull-out rating to worry about.
For very light prints, a sawtooth hanger plus a single screw into a stud or a self-drilling anchor is enough. For heavier pieces, use two D-rings set wide apart rather than a single wire, and hang from two hooks. Two points keep the frame level and stop it from swinging when a door slams.
For broader guidance on anchoring wall items to prevent tip-overs and falls, the Consumer Product Safety Commission publishes parent-facing resources on home anchoring.
Step-by-Step Installation and Stability Check
Follow these steps to install nursery art that stays put.
- Pick the spot. Keep it off the crib, bed, and changing table.
- Mark the height. Measure 57 to 60 inches to center and mark with a pencil.
- Find the stud. Run a stud finder across the wall and mark each stud.
- Make a template. Trace the frame onto paper and tape it to the wall with painter's tape.
- Install the hardware. Drive the screw or set the anchor at your mark.
- Hang the art. Set the frame on the hook and check it with a level.
- Test the hold. Press gently on the bottom corner. It should not move.
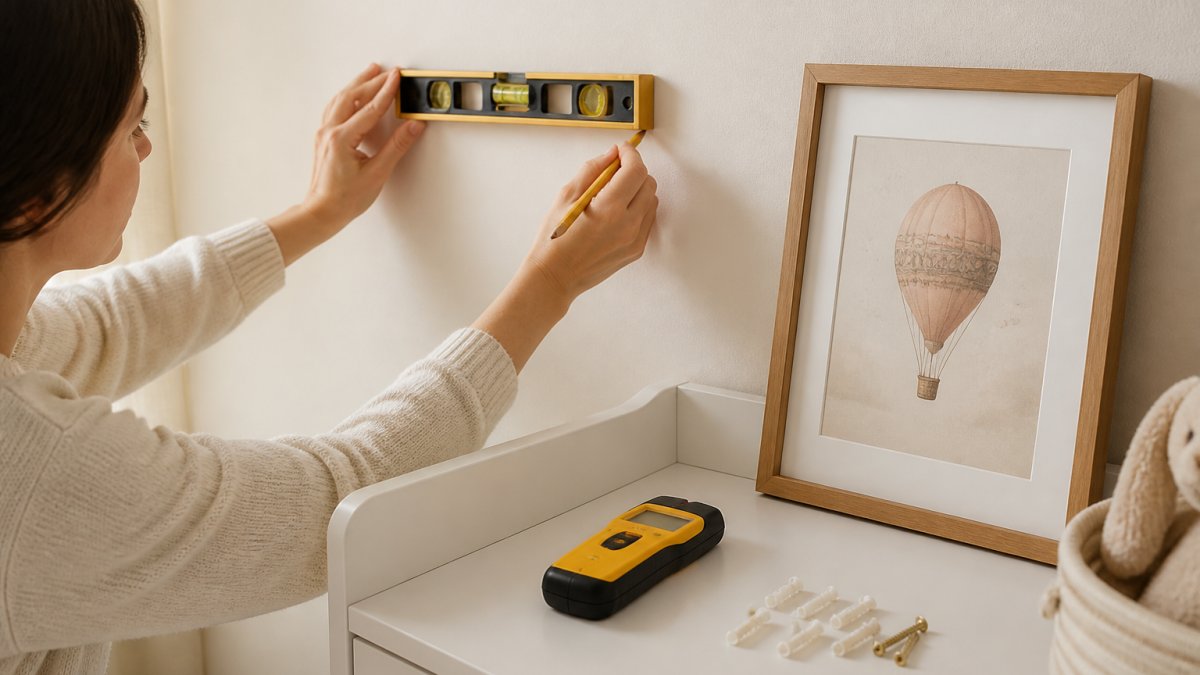
Expected result: the frame sits level, feels firm, and does not shift when nudged.
Common Mistakes to Avoid When Hanging Nursery Art
The biggest mistake is treating nursery art like living room art. The stakes are higher, and the viewers are shorter and grabby.
Watch for these:
- Hanging glass frames above the crib
- Using hardware rated below the frame's weight
- Skipping anchors on drywall and relying on a single nail
- Hanging art within a toddler's reach
- Forgetting to re-check the wall as your child grows
That last one matters more than people think. A piece that is safe for a newborn may be a hazard for a two-year-old who can climb. Walk the room every few months and raise or move anything that has come within reach. For more on the standards behind child-safe products and home safety, the American Academy of Pediatrics offers parent-facing guidance on home safety as children develop.
Safety as your child develops is not a one-time task. It is a habit.
Conclusion
Hanging nursery art safely is really about two things: the right hardware and the right placement. Get those right, and the rest is easy. When you are ready to choose pieces worth hanging, RunwayandHeirloomArt offers prints made to last, including our Historic Aviation Prints and a growing collection of art-history-inspired designs. Each piece is created to tell a story and grow with your child's room. Explore the full collection and find art with personality.
Frequently Asked Questions
Is it safe to hang pictures above a crib?
Safety guidance is split. Some sources describe securing art over a crib with a long screw into a stud and a washer, while others list avoiding wall art over the crib among nursery safety tips. No comparative evidence establishes which approach has a measured safety outcome. A practical middle path is to keep heavy or glass-fronted nursery art off the wall directly above the crib, and reserve that zone for a lightweight, acrylic-glazed print mounted with a wall anchor rated well above its weight.
How high should nursery art be hung?
Hang nursery wall art so the center of the piece sits at about 57 to 60 inches from the floor for a standing adult, or roughly 10 to 12 inches above the top of the crib or dresser. When hanging pictures above a crib safely, raise the bottom edge so a standing toddler cannot reach it. Mark the height with painter's tape first, step back, and adjust before you drill.
What wall anchors should you use for hanging nursery art?
The best wall anchors for hanging pictures depend on wall type and load. In drywall, use self-drilling or toggle anchors rated at least twice the weight of the framed art. In plaster, use a toggle anchor that spreads behind the lath. Always drive a screw into a stud when one is available. Check the load rating on the package, and never rely on a single nail for a heavy artwork.
How do you secure a picture frame to a nursery wall?
To secure picture frames to a wall, attach a sawtooth hanger for lightweight frames under about 5 pounds, or a wire hanger for heavier pieces. For glass-fronted frames, swap to acrylic glazing to reduce breakage risk. After mounting, tug the frame gently to confirm it is stable, and add a small adhesive bumper at the bottom corners to stop it from swinging when the door or a window draft moves air through the room.