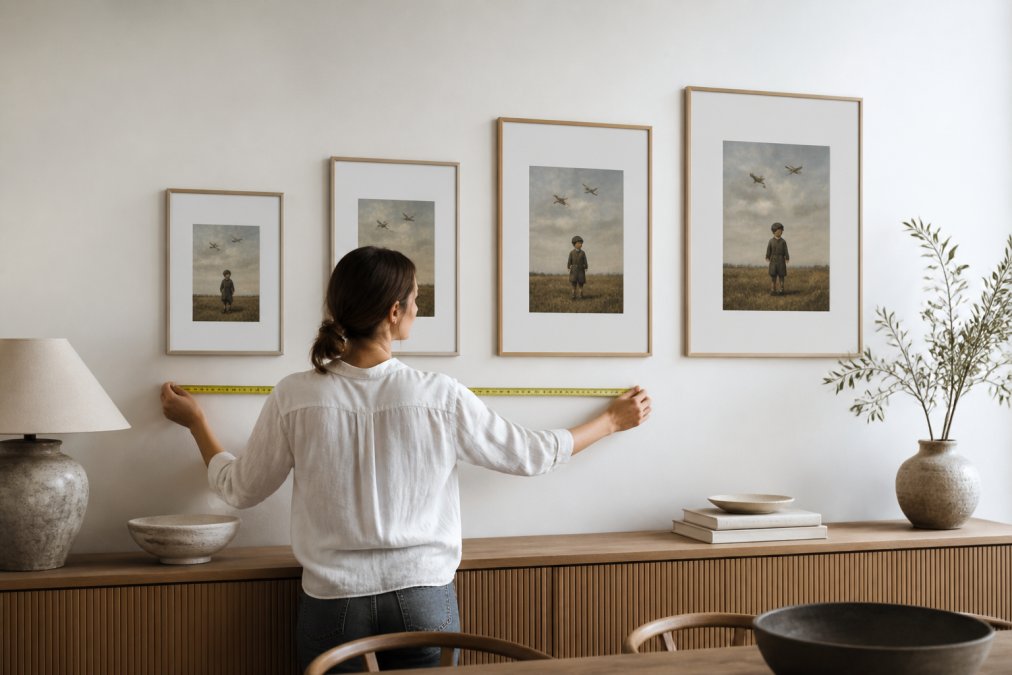
 how-to
How to Choose Frame Size for Wall Art: A 2026 Guide
Table of Contents
- Why Frame Size Makes or Breaks Your Wall Art
- How to Measure Wall Art for Framing: Inside vs. Outside Dimensions
- Standard Picture Frame Sizes and How to Match Them to Your Print
- The 2/3 to 3/4 Rule: Sizing Art Above Furniture
- Art Hanging Height Guidelines: The 57-Inch Rule and Eye Level
- Aspect Ratio Math and Gallery Wall Proportions
- Weight, Hanging Hardware, and Digital Visualization Tools
- Frequently Asked Questions
Last Updated: September 13, 2026
Why Frame Size Makes or Breaks Your Wall Art
The global wall art market is projected to reach $64.22 billion in 2026, yet a huge share of those purchases end up looking wrong on the wall, not because the art is bad, but because the frame size was guessed instead of calculated. Learning how to choose frame size for wall art is the difference between a piece that anchors a room and one that floats there awkwardly. Learning how to choose frame size for wall art is the difference between a piece that anchors a room and one that floats there awkwardly.
Frame size is the total exterior dimension of a framed piece, including the frame profile and any matting, not just the artwork inside it. Get that measurement wrong and even a beautiful print reads as an afterthought.
Below, we'll show you exactly how to measure, match, and hang art so it looks intentional. But first, here's what most guides get wrong: they tell you to "eyeball it."
How to Measure Wall Art for Framing: Inside vs. Outside Dimensions
Measuring wall art for framing means capturing two separate numbers: the inside dimension of the frame opening and the outside dimension of the finished piece. Confusing the two is the single most common framing error.
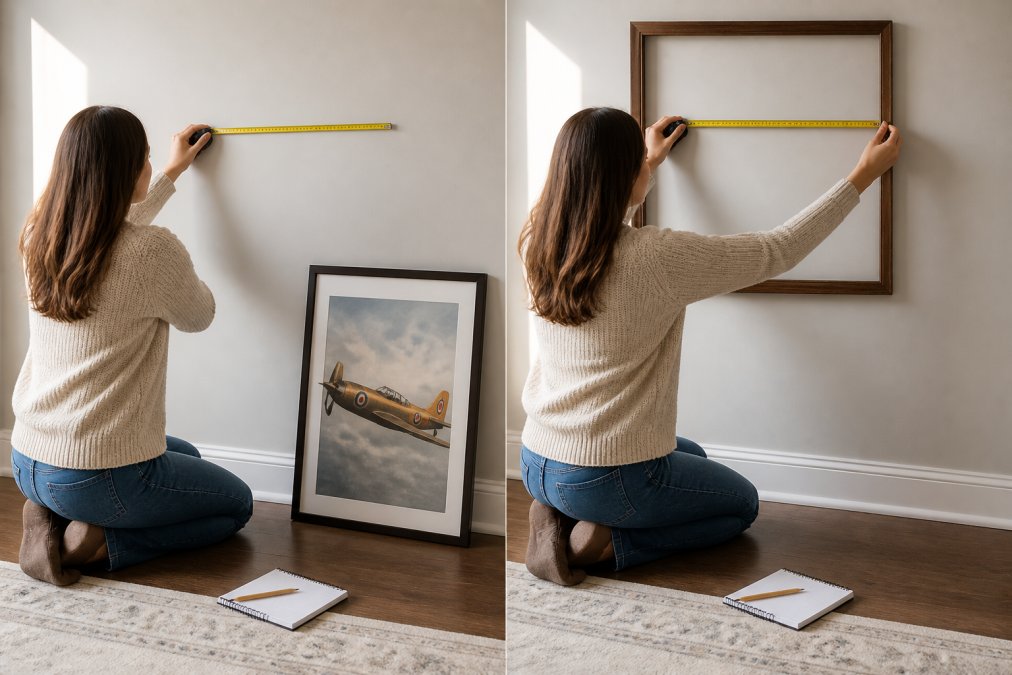
Measuring Your Wall Space and Room Dimensions
Start with the wall, not the art. Measure the available width between obstructions, then note the room dimensions and where the main focal point sits. Standard picture frame sizes include 4x6, 5x7, and 8x10 inches, according to Frame Destination's framing guide, so knowing your wall's real capacity tells you which of those will actually fit the composition.
Inside Dimensions vs. Outside Dimensions
Inside dimensions describe the frame opening that holds the print. Outside dimensions describe the full footprint once the frame and mat are added. A 16x20-inch print in a wide frame with a 3-inch mat can finish at 24x28 inches or more. Always order based on the outside dimension when planning wall coverage.
Standard Picture Frame Sizes and How to Match Them to Your Print
There are 32 distinct standard frame sizes in production, per Frame USA's size reference, which means you can almost always match a print without going custom. The general rule: choose a frame border 2-4 inches larger than the print on each side, based on About Wall Art's framing guidance.
| Print Size | Best Use | Mat Width | Finished Look |
|---|---|---|---|
| 8x10 in | Shelves, gallery walls, nooks | 2 in | Compact, grouped |
| 11x14 in | Small walls, paired sets | 2-3 in | Versatile |
| 16x20 in | Narrow walls, pairs | 3 in | Statement |
| 18x24 in | Large focal walls | 3-4 in | Oversized |
Choosing the Right Frame Border and Mat Width
A wider mat pushes the eye toward the artwork and gives a print breathing room. For smaller prints, a 2-inch mat keeps things tight; for larger pieces, 3-4 inches reads as deliberate. Bold, heavy frames can overwhelm the art itself, a point Park West Gallery's framing notes makes well.
The 2/3 to 3/4 Rule: Sizing Art Above Furniture
Art hung above furniture should span two-thirds to three-fourths of the furniture's width, according to Minted's art size guide. A 72-inch sofa, for example, calls for art between 48 and 54 inches wide. Anything narrower looks stranded; anything wider competes with the furniture.
For a single piece, aim for the middle of that range. For a pair, split the target width and add a 2-3 inch gap between frames. This one rule solves most living room and bedroom composition problems before you ever pick up a hammer.
Art Hanging Height Guidelines: The 57-Inch Rule and Eye Level
The center of your art should sit 57-60 inches from the floor, which is standard eye level for most viewers, per The Art Framer's 2026 trend report. This is the single most reliable art hanging height guideline, and it holds whether you're hanging one piece or twenty.
Measure from the floor to 57 inches, mark it, then align that mark with the vertical center of your frame, not the top. In rooms with high ceilings or furniture taller than 40 inches, shift the center up slightly to maintain visual balance against the surrounding negative space.
Aspect Ratio Math and Gallery Wall Proportions
Aspect ratio is the relationship between a print's width and height, and it governs how a gallery wall feels. A 2:3 print (like 16x24) is portrait-leaning; a 3:2 print (like 24x16) is landscape. Mixing ratios without a plan creates visual chaos.
Here's the math most guides skip. To find a print's ratio, divide width by height and reduce it like a fraction:
- 16 ÷ 24 = 0.667 → 2:3 (portrait)
- 24 ÷ 16 = 1.5 → 3:2 (landscape)
- 20 ÷ 20 = 1.0 → 1:1 (square)
- 12 ÷ 36 = 0.333 → 1:3 (panoramic)
Once you have the ratio, you can predict how a print will sit against a standard frame opening before you buy anything. A 2:3 print drops cleanly into 8x12, 12x18, 16x24, and 20x30. A 3:2 print fits 12x8, 18x12, 24x16, and 30x20. Square prints (1:1) match 8x8, 12x12, 16x16, and 20x20.
When Standard Frames Don't Fit Your Print
This is where most buyers get stuck. Panoramic prints (1:3, 1:4) and odd ratios like 5:7 have no matching standard frame. You have three real options, and the right one depends on how much of the print you're willing to lose:
- Custom matting inside a larger standard frame. A 12x36 panoramic print can sit in a 20x40 frame with a custom-cut mat that fills the extra width. The mat does the ratio work so the frame doesn't have to.
- Custom frame to the print's exact ratio. Highest fidelity, highest cost. Worth it for a focal piece you'll keep for years.
- Crop to the nearest standard ratio. Only if the composition allows it, cropping a 1:3 pano to 2:3 usually destroys the shot.
A common pattern is to let the mat absorb the mismatch. A 3-inch mat on all sides of a 12x36 print produces a 18x42 finished piece, which then hangs as a clean rectangle even though the print itself is unusually long.
Calculating Spacing and Alignment for Gallery Walls
For blank walls, the "three-eights rule" calculates the blank space on either side of your art to keep it balanced, per Cattie Coyle Photography's sizing guide. Aim for art to occupy 60-75% of the available wall space.
Use 2-3 inches between frames in a tight grid, 3-4 inches for a looser arrangement. Keep the center point of the whole cluster at 57 inches. Sketch the layout on paper or with painter's tape before hanging anything.
When mixing ratios in one gallery wall, anchor the arrangement with the largest piece and build outward. Keep at least one shared edge, top, bottom, or centerline, across the cluster so the eye has a through-line even when the shapes don't match.
- Measure total wall width and height
- Confirm 60-75% wall coverage target
- Set center point at 57 inches
- Space frames 2-4 inches apart
- Check horizontal and vertical alignment
- Verify every print's ratio against its frame opening
Weight, Hanging Hardware, and Digital Visualization Tools
Frame size doesn't just change how art looks, it changes what's holding it to the wall. A 16x20 print in a thin metal frame with no mat might weigh 3 pounds. The same print in a wide wood frame with a 3-inch mat and glass can push past 12 pounds. Double the frame size and you can quadruple the weight, because weight scales with area, not with perimeter.
Estimating Weight Before You Buy Hardware
A rough working estimate most framers use: a framed piece weighs roughly 0.5 to 0.8 pounds per square foot of finished size for a light frame with acrylic glazing, and 1.2 to 1.8 pounds per square foot for a solid wood frame with glass and matting. That means:
| Finished Size | Light Frame + Acrylic | Wood Frame + Glass + Mat |
|---|---|---|
| 11x14 in | 0.5-0.9 lb | 1.3-2.0 lb |
| 16x20 in | 1.1-1.8 lb | 2.7-4.0 lb |
| 24x36 in | 3.0-4.8 lb | 7.2-10.8 lb |
| 30x40 in | 4.2-6.7 lb | 10.0-15.0 lb |
Anything over 10 pounds should not hang from a single nail. Anything over 20 pounds should not hang from wire alone.
Matching Hardware to Weight and Wall Type
- Under 5 lb: A single 30-50 lb picture hook into drywall is fine.
- 5-15 lb: Two hooks spaced 4-6 inches apart, each rated for at least twice the piece's weight. Two 30 lb hooks for a 12 lb frame gives you the safety margin.
- 15-30 lb: Anchor into a stud with a lag screw, or use two heavy-duty toggle bolts rated 50 lb or more each in drywall.
- Over 30 lb: A French cleat rated for at least twice the weight, screwed into two studs. Cleats distribute load across the full width of the frame and keep large pieces flat against the wall.
Wall type matters as much as weight. Drywall alone holds far less than a stud. Plaster and lath is brittle and cracks under point loads, use a wider anchor. Brick and concrete need masonry bits and sleeve anchors, not toggles.
Digital Visualization Tools and Tape Mockups
Before you drill, preview the scale. Three options, in order of effort:
- Painter's tape mockup. Outline the finished outside dimension on the wall with tape. Stand back 6-8 feet. If the tape rectangle looks small, your frame is small, this catches 90% of sizing errors for under $5.
- Kraft paper template. Cut a sheet to the finished outside dimension, tape it to the wall, and live with it for a day. Best for gallery walls where you need to test multiple arrangements.
- AR and digital preview apps. Several framing and home-decor retailers offer free augmented-reality previews that project a frame onto your actual wall through a phone camera. These are useful for color and style checks but less reliable for true scale, because phone cameras distort perspective at close range.
A common pattern is to combine methods: tape the footprint first, then use an AR tool to sanity-check the frame style, then measure once more before drilling.
If you'd rather start with art that's already proportioned for common frame sizes, explore the Watercolor Art and Historic Aviation Prints collections at RunwayandHeirloomArt, where each print is designed to fit standard dimensions cleanly.
Frequently Asked Questions
What size frame should I use for wall art?
Start with your print's dimensions, then add a mat. Frame borders typically extend 2 to 4 inches beyond the print on each side, per About Wall Art (2025). For a standard 8x10 print, that means a 12x14 or 16x18 frame. If you're framing a large piece, the frame should occupy 60 to 75 percent of the available wall space to keep visual balance, according to Minted (2025).
What is the 2/3 rule for wall art?
The 2/3 rule says artwork hung above furniture, like a sofa or bed, should span two-thirds to three-fourths of that furniture's width. Minted and Saatchi Art (2026) both cite this as the go-to proportional guideline. A 72-inch sofa, for example, pairs well with art that's 48 to 54 inches wide. This keeps the piece from looking stranded or oversized.
What is the 57-inch rule for hanging pictures?
The 57-inch rule places the center point of your art at 57 to 60 inches from the floor, which is average eye level for most adults. The Art Framer (2026) confirms this as the standard installation height. Measure from the floor to the center of the frame, not the top. In rooms where people mostly sit, like a dining room, you can nudge it slightly lower.
Should the frame size match the art size exactly?
No. A frame that matches the art size exactly leaves no room for matting and can make the piece feel cramped. Standard practice is to let the frame extend 2 to 4 inches beyond the print on each side, per About Wall Art (2025). Matting also protects the art from touching the glass and gives the eye breathing room. If you want a borderless look, a slim frame profile can work, but it's a deliberate style choice.
Choosing frame size for wall art comes down to matching your print, your furniture, and your wall's real measurements, and that's where most people stall. RunwayandHeirloomArt offers digital-download prints in a watercolor style across nursery, aviation, and art-history themes, so you can size and print each piece to fit your exact frame. Get started with RunwayandHeirloomArt and hang art that finally looks like it belongs.