 how-to
Cohesive Art Collection: How to Build One at Home
Last Updated: November 11, 2026
Quick Summary
A cohesive art collection comes from committing to one unifying thread, such as a shared color, theme, medium, or era, and letting that thread guide every purchase. Start with the room you see most, then add pieces that repeat the thread. Matching frames and mats strengthen the connection.
- Pick one unifying element, not three, and let it guide future purchases.
- Choose from four options: color, theme, medium, or era.
- Repeat one color across three or more pieces to tie mixed styles together.
- Center a gallery grouping at about 57 to 60 inches from the floor.
- Keep two to three inches between frames in a gallery wall.
Table of Contents
- Why an Apartment Art Collection Needs a Unifying Thread
- Choose a Visual Thread: Color, Theme, Medium or Era
- How to Make Different Art Styles Look Cohesive
- How to Curate a Gallery Wall in a Small Space
- Apartment Art Arrangement Ideas by Room
- How to Create Your Own Art Collection Over Time
- Start Your Collection: Choosing Your First Piece from Runway and Heirloom
- Frequently Asked Questions
Why an Apartment Art Collection Needs a Unifying Thread
A cohesive apartment art collection is a set of pieces that look like they belong together, even when they were bought at different times. A home often feels finished when the art shares one clear thread. Without that thread, even beautiful pieces can look scattered on the wall.
Most apartments are small, so every piece gets noticed. A single mismatched print can throw off a whole room. That is why the first step is not buying art. It is choosing the thread that will tie your walls together.
Think of the thread as the rule your collection follows. It might be a color, a subject, a style, or a period. Once you pick it, every new purchase becomes easier because you know what fits.
- Start with the room you see most often
- Pick one unifying element, not three
- Let that element guide every future choice
Keep the thread simple. A thread that is too narrow leaves you with nothing to buy. A thread that is too loose gives you no direction at all.
Choose a Visual Thread: Color, Theme, Medium or Era
The most reliable way to build a cohesive apartment art collection is to commit to one visual thread. The four common options are color, theme, medium, and era. Each one creates unity in a different way.
- Color: Repeat two or three tones across every piece. This works well in small rooms because it makes the walls feel calm.
- Theme: Group art by subject, such as landscapes, aviation, or botanicals. Subject matter gives a collection an obvious story.
- Medium: Keep prints, paintings, or photographs in the same format. Matching frames or paper tones strengthen this approach.
- Era: Choose pieces from the same period, such as mid-century or Art Deco. Era gives the room a consistent mood.
Pick the option that matches how you already live. To compare rules on size, placement and style before you commit, see choosing wall art for every room. If your sofa and rug share a palette, color is the easiest choice. If you have a strong personal interest, theme may feel more meaningful.
Watch out: choosing a theme and a color and an era all at once often creates visual noise. Pick one thread and let the rest stay flexible.
How to Make Different Art Styles Look Cohesive
Many people worry that mixing styles will look messy. In practice, mixing works well when the pieces share one underlying element. A collection can include a watercolor, a vintage print, and an oil-style painting if they repeat a color or a frame finish.
Start by pulling one color from each piece. Then repeat that color in a pillow, a vase, or the frame. The eye connects the pieces through that shared tone, even when their styles differ.
Frames are another easy tie. Matching frame finishes, such as black, natural wood, or brass, make mixed styles feel planned. Mats in the same off-white also help.
- Repeat one color across three or more pieces
- Use one frame finish throughout the room
- Keep mats and paper tones consistent
How to Curate a Gallery Wall in a Small Space
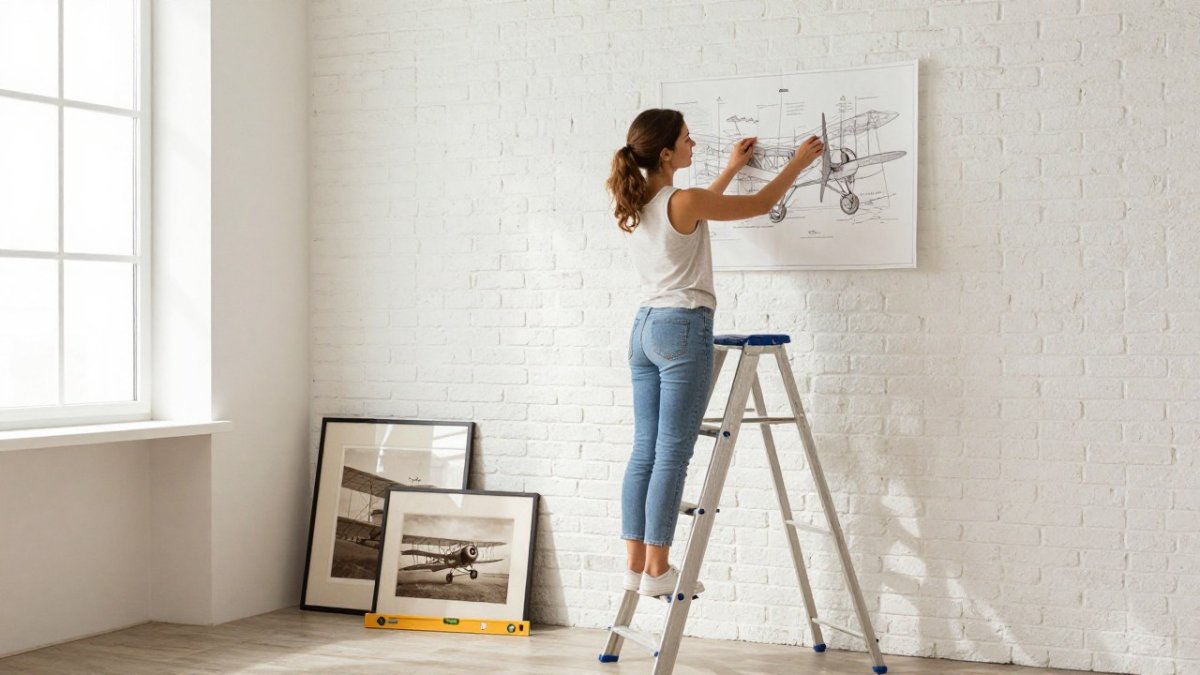
A gallery wall is the highest-leverage move in a small apartment because it turns many pieces into one visual unit instead of many competing focal points. For a full step-by-step method, see gallery wall layout guide.
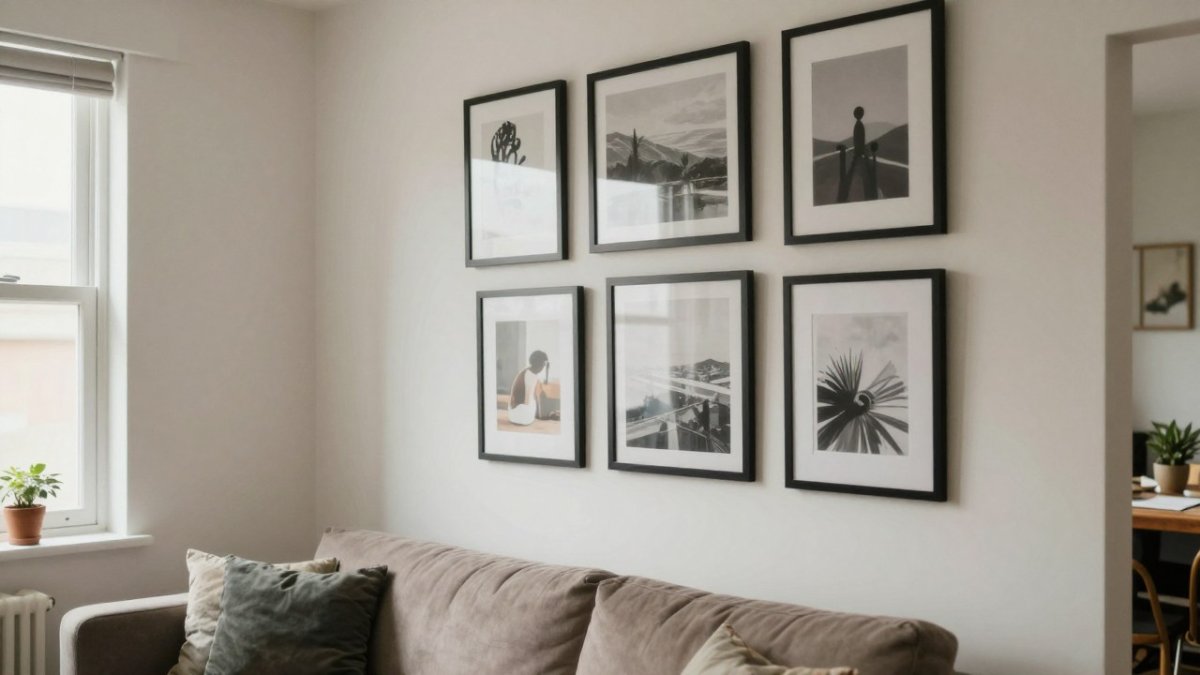
1. Size the group to the furniture, not the wall. A common guideline is that a gallery grouping should span a substantial portion of the width of the furniture below it.
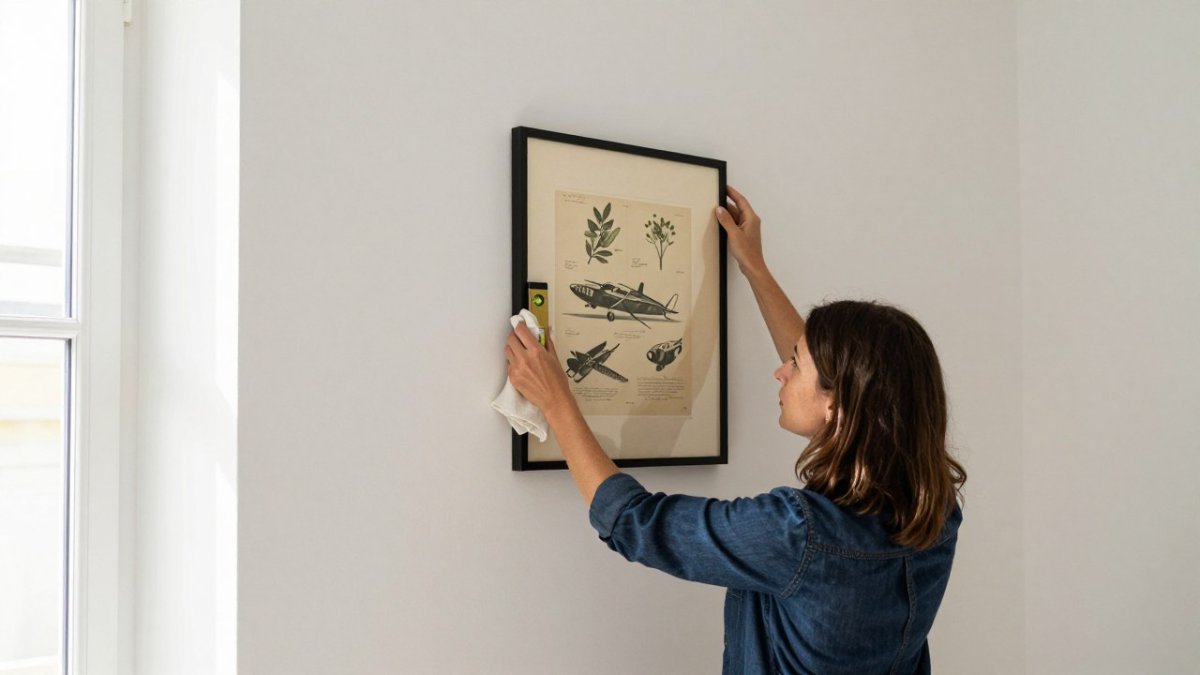
2. Set the vertical anchor. Hang so the center of the overall grouping sits at about 57 to 60 inches from the floor, the same center line used for a single piece.
3. Choose a layout template before you choose pieces. Four layouts cover almost every small-apartment wall:
- 2x2 grid (four equal pieces): the safest choice for a narrow wall or a rental where you want minimal holes. Best with same-size frames.
- Salon row (three to five pieces in one horizontal line): works over a sofa or console when the wall is wide but the ceiling is low.
- Column (two to four pieces stacked vertically): the go-to for narrow walls beside a door, in a hallway, or between windows.
- Anchor-plus-satellites (one large piece with two to four small pieces around it): the most flexible for mixed sizes and the easiest to expand later.
Sketch the chosen template on paper at scale, one inch on paper equals one foot on the wall is enough, and tape it to the wall for a day before hanging.
4. Keep spacing consistent and tight. Two to three inches between frames is the standard range; three inches reads as airy, two inches reads as a single unit.
**5.
6. Test the layout on the floor or with paper templates. Cut paper to each frame's exact outer dimensions, tape the cutouts to the wall, and live with the arrangement for a day.
7. Leave room to grow. A gallery wall that fills every inch on day one has nowhere to go.
Watch out: hanging the grouping too high is the most common mistake in small rooms.
The article's gallery-wall steps, summarised so the key measurements are easy to scan.
| Step | What to do | Key figure |
|---|---|---|
| 1. Size the group | Span a substantial portion of the furniture width | Not narrower than half the sofa |
| 2. Set the anchor | Centre the grouping at a fixed height | About 57 to 60 inches from floor |
| 2. Sofa clearance | Keep lowest frame above the sofa back | 6 to 10 inches |
| 2. Headboard clearance | Keep lowest frame above the headboard | 4 to 8 inches |
| 4. Spacing | Use one consistent gap between frames | 2 to 3 inches |
| 6. Test layout | Tape paper cutouts to the wall for a day | One day |
| 7. Leave room | Keep one or two empty slots for future pieces | 1 to 2 slots |
Gallery wall spacing and placement measurements
Apartment Art Arrangement Ideas by Room
Each room in an apartment has its own job, so the art should match it. You can find unique art prints for your living room by style, mood and scale. The living room usually needs the largest piece, placed above the sofa so it anchors the seating area. A single oversized print often works better than several small ones.
The bedroom calls for softer art. Calm colors and gentle subjects help the room feel restful. Hang pieces at a height that balances the headboard, not too high above it.
Entryways benefit from one strong piece or a narrow vertical grouping. For a home office, you can explore curated art print collections designed to support focus and productivity. This sets the tone the moment someone walks in. Bathrooms and kitchens need pieces that handle humidity, so choose framed prints behind glass and keep them away from direct steam.
- Living room: One large anchor piece above the sofa
- Bedroom: Soft colors, calm subjects, balanced over the headboard
- Entryway: One statement piece or a narrow vertical group
- Kitchen or bath: Glass-covered frames away from steam
How to Create Your Own Art Collection Over Time
Most apartment art advice assumes you already own a collection. In practice, most people are starting from one or two pieces and a budget. The practical approach is to treat the collection as a staged project with a written plan, so each purchase compounds instead of competing.
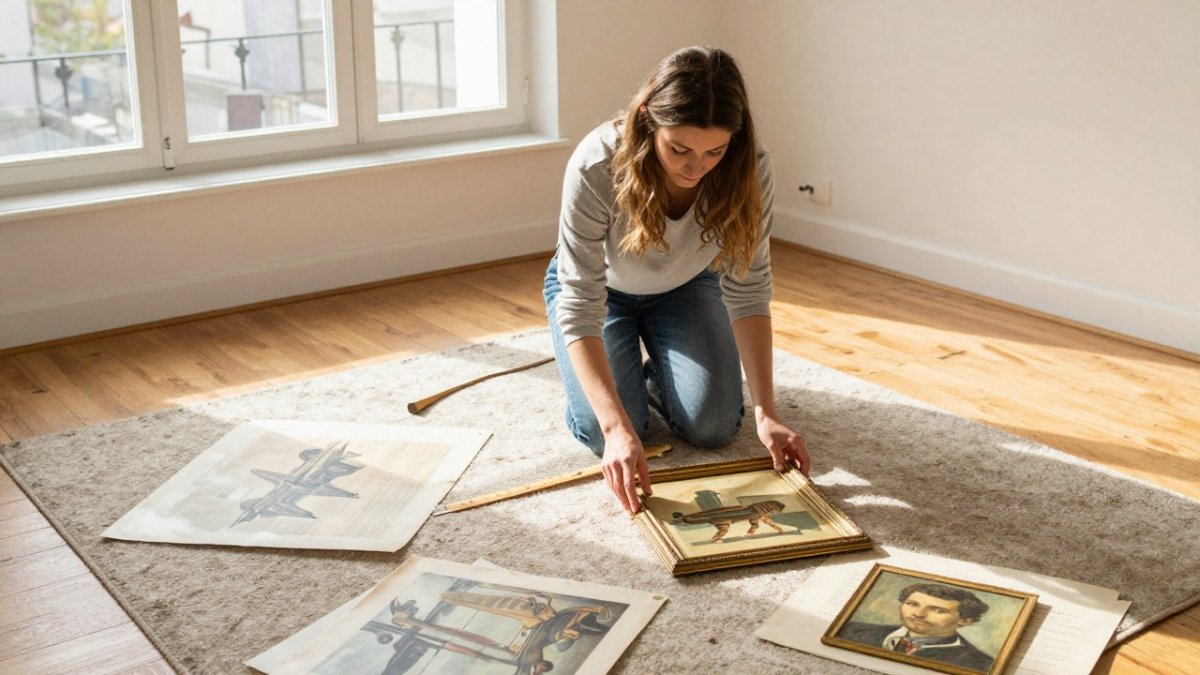
Stage 1: Audit what you already have (week one). Photograph every piece you own, including gifts and inherited work, and note three things for each: outer dimensions, dominant colors, and frame finish. Lay the photos out in one folder. Patterns usually appear fast, most people discover they already lean toward two or three colors or a subject. That existing lean is your thread, and starting from it is cheaper than starting over.
Stage 2: Map the walls before you shop (week one). Walk the apartment with a tape measure and record usable wall width and height for each candidate spot: above the sofa, above the bed, the entry wall, the wall beside the desk.
Stage 3: Set a budget and a cadence. Decide a yearly art budget and divide it into two to four purchase windows rather than one large buy. A common pattern is one anchor piece per year plus two or three smaller pieces, which lets the collection evolve without a single large outlay. Keep a running wish list ranked by which wall it solves, not by which piece you like most in isolation. The top of the list should always be the piece that fixes the most visible empty wall.
Stage 4: Prioritize in this order.
- Anchor pieces first: the largest wall in the most-used room. One strong piece here does more for cohesion than five small ones.
- Repeat the thread second: the second purchase should visibly echo the first, same palette, same frame finish, or same subject family.
- Fill gaps last: small pieces for narrow walls, hallways, and the space beside a door.
Stage 5: Source in apartment-friendly ways. When buying online, confirm the listed outer dimensions include the frame, not just the image, and ask whether the piece ships framed or rolled, a rolled print needs framing added to the budget.
Stage 6: Test before you hang. Use a paper cutout at the piece's exact outer size, taped to the wall for a day, or a simple digital mockup. Both methods catch scale errors before holes are drilled.
Stage 8: Keep a one-page record. Note each piece's dimensions, frame finish, purchase date, and wall assignment in a single document or spreadsheet.
Pricing depends on print size, framing, and quantity, so please check our website for current prices or a quote before you set your budget.
Start Your Collection: Choosing Your First Piece from Runway and Heirloom
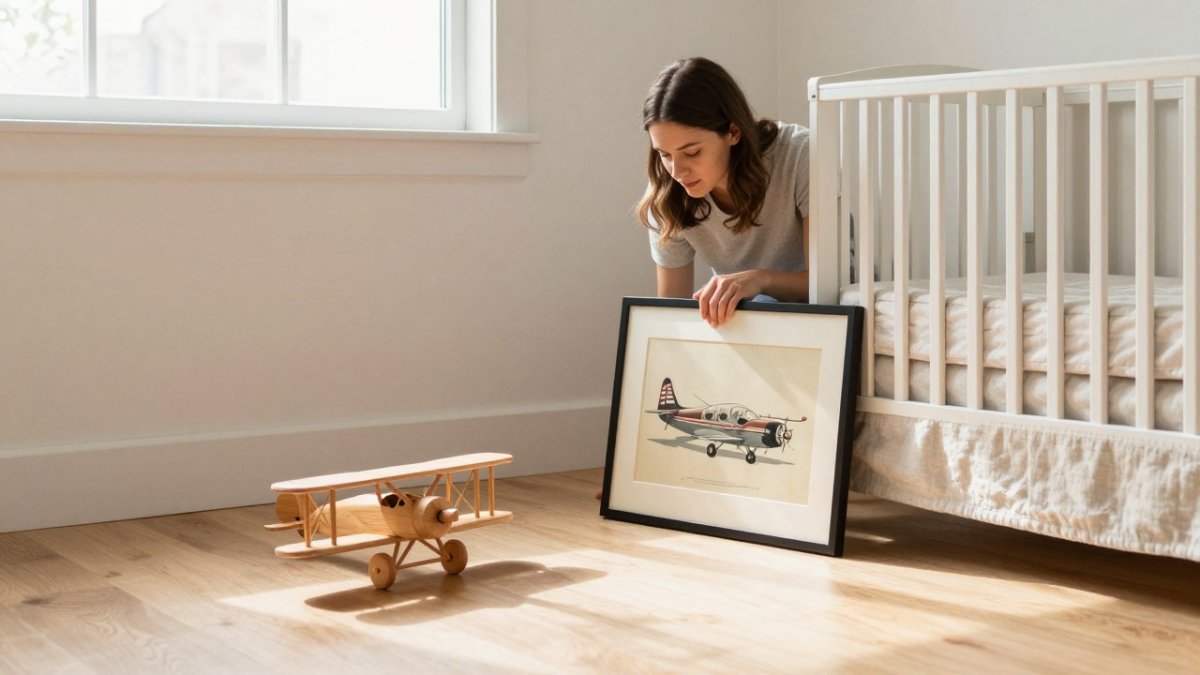
Your first piece sets the direction for everything that follows, so choose it carefully. Pick a print that reflects your thread and that you would be happy to see every day. If you are starting with a nursery, a watercolor print in a soft palette makes a gentle first choice. If you love aviation, a historic aviation print can anchor a study or office.
Runway & Heirloom designs prints around art history, aviation, childhood, and personal style, so you can find a starting point that fits your thread. Browse Historic Aviation Prints or Watercolor Nursery Art to find a first piece that matches the room.
Build from there, one thoughtful piece at a time, and let your thread guide each choice. A cohesive collection is not finished in a weekend. It grows into a home that tells your story.
Frequently Asked Questions
How do I create my own art collection?
Start with one unifying element such as a color family, a subject or a medium, and buy pieces that share it. Collect slowly, measure your walls before buying, and live with each piece for a few weeks before adding the next. A collection built over time usually looks more personal than one bought all at once from a single set of matching prints.
How do I make different art styles look cohesive?
Repeat at least one element across every piece, such as a color from the palette, a frame finish or a matching mat. Keep frames consistent in color and material even when the artwork differs in style. Group pieces at similar heights and spacing so the mix reads as intentional rather than random.
What makes an art collection feel cohesive?
A cohesive collection shares a visual thread, whether that is color, subject, period or framing. Balance contrast with repetition: vary the artwork but keep the palette, materials and frame style consistent. Scale also matters, so combine a few larger pieces with smaller ones to create a clear focal point.
Do all the frames in a gallery wall need to match?
No, but they should share at least one element, such as frame color, material or finish. Mixing frame styles can work well if the color or width stays consistent. Leave about 2 to 3 inches between frames so the grouping reads as one composition.