 how-to
How to Style Aviation Gallery Walls in Small Apartments
Last Updated: November 7, 2026
Quick Summary
Styling aviation gallery walls in small apartments starts with measuring the wall and taping out the usable zone before buying anything. Choose three to five pieces, pick a tight grid or asymmetric cluster layout, and keep 1.5 to 3 inches between frames so the display stays airy.
- Mark the usable zone with painter's tape and live with paper templates for a week before hanging.
- A tight grid suits narrow walls, using 1.5 to 2 inches of consistent spacing between frames.
- Center art above the sofa at eye level, roughly 57 to 60 inches from the floor.
- Limit your frame palette to one or two finishes, such as black and natural wood.
- Use damage-free adhesive strips rated above the frame's weight for prints under 5 pounds.
Table of Contents
- Start with a Measured Plan for Your Aviation Gallery Wall
- Gallery Wall Layout Ideas That Fit Tight Spaces
- Gallery Wall Placement: Where Aviation Art Works Best in a Small Apartment
- Choosing Frames and Prints for a Cohesive Aviation Display
- Renter-Friendly Gallery Wall Ideas for Aviation Lovers
- Building a Gallery Wall Around a TV Without Clutter
- Lighting, Glare, and Preserving Aviation Prints
- Shop the Runway & Heirloom Aviation Collection for Your First Layout
- Frequently Asked Questions
Start with a Measured Plan for Your Aviation Gallery Wall
Styling aviation gallery walls in small apartments starts with a tape measure, not a shopping cart. A wall that feels cramped is almost always a planning failure, not a space problem. A few careful measurements make a real difference before the first nail goes in.
Here is the planning sequence we recommend:
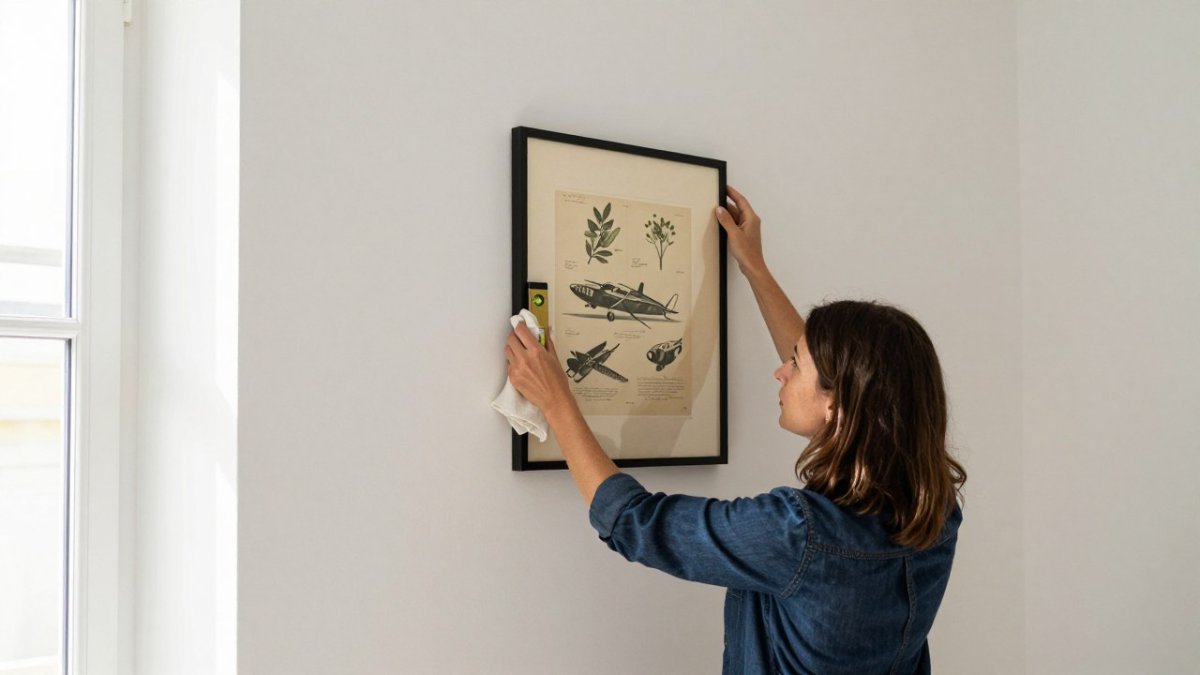
- Measure the wall's width and height, then subtract furniture and door swings.
- Mark the usable zone with painter's tape.
- Decide your focal point: sofa, bed, or entry console.
- Choose three to five pieces before buying frames.
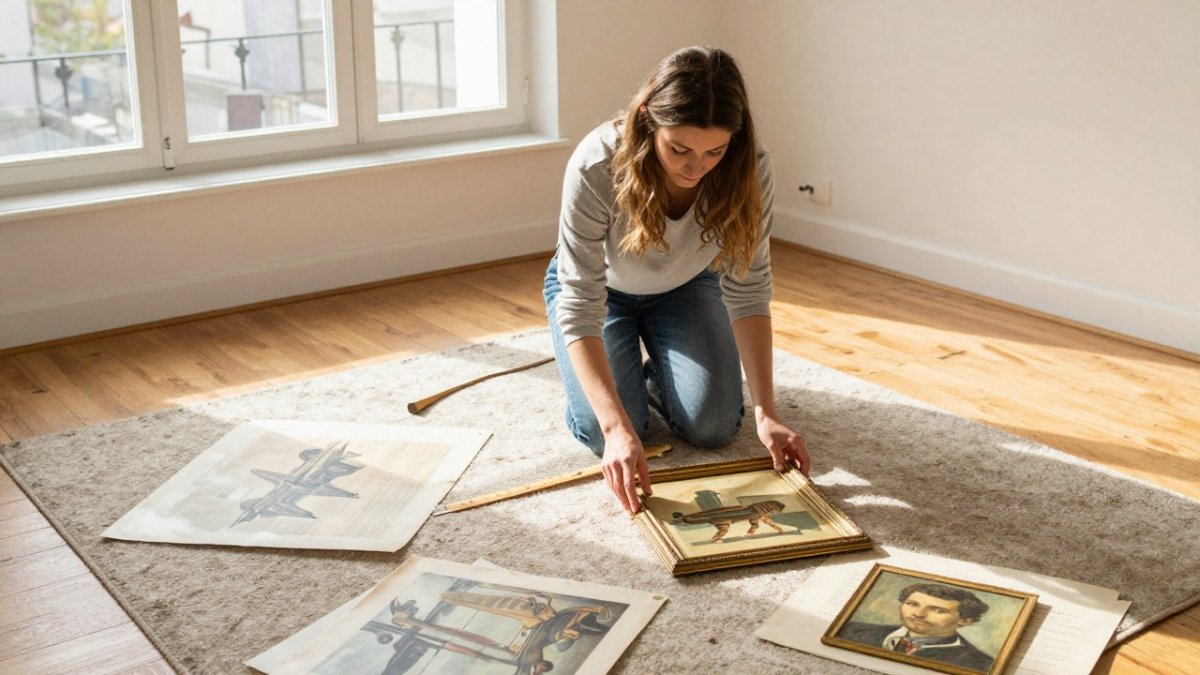
- Cut paper templates and tape them to the wall for a week.
That last step saves money. A common mistake is buying frames first and forcing art to fit them.
Aviation gallery walls reward patience. A tight, measured plan keeps a compact display airy instead of crowded.
Gallery Wall Layout Ideas That Fit Tight Spaces
The best gallery wall layout ideas for tight spaces use fewer pieces with more breathing room, and for aviation art, the layout has to account for the fact that aircraft illustrations, sectional charts, and vintage posters often carry more visual detail per square inch than abstract prints. Two layouts do most of the work in a small apartment: the tight grid and the asymmetric cluster. Below are exact starting points you can reproduce with a tape measure before you buy a single frame.
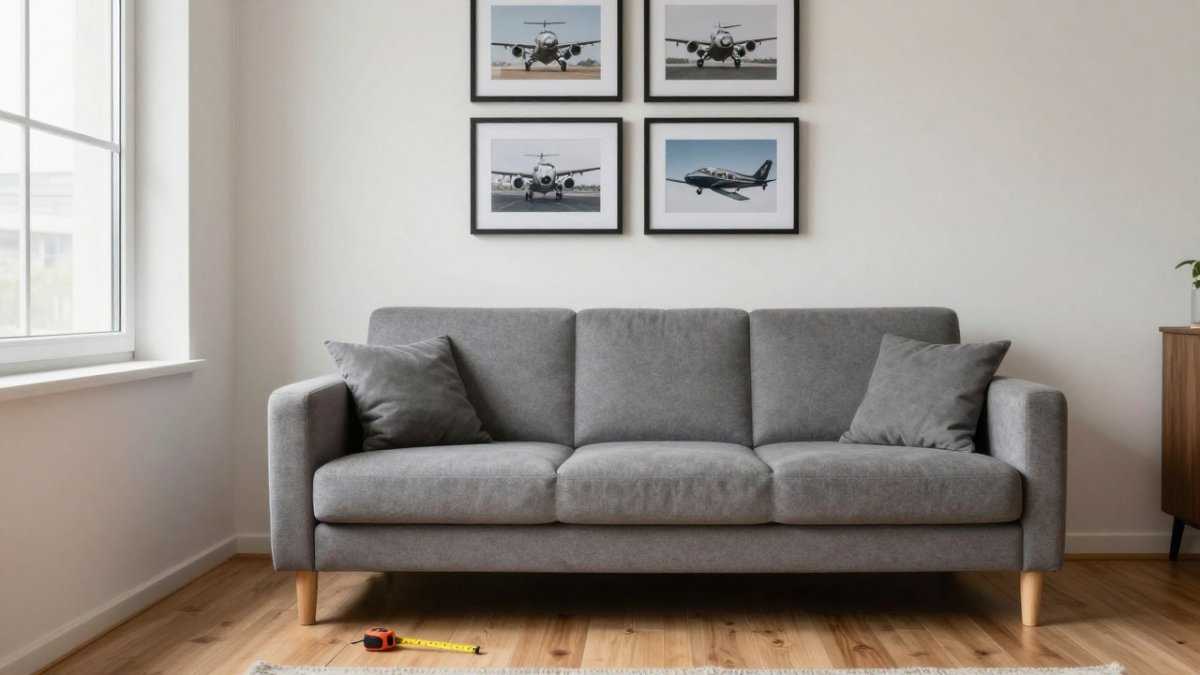
The Tight Grid for Narrow Walls and Alcoves
A tight grid is the safest choice for a narrow wall, alcove, or the space above a bed. Matching frames in a 2x2 or 2x3 arrangement create order without clutter. Keep consistent spacing between every frame, usually 1.5 to 2 inches. Align the outer edges precisely, because a grid hides nothing.
Measure the total footprint first: frame width times columns, plus gap width times the number of gaps, then subtract from your usable wall width. If the remainder is under 6 inches total, the grid will feel pinched.
The Asymmetric Cluster for Above the Sofa or Bed
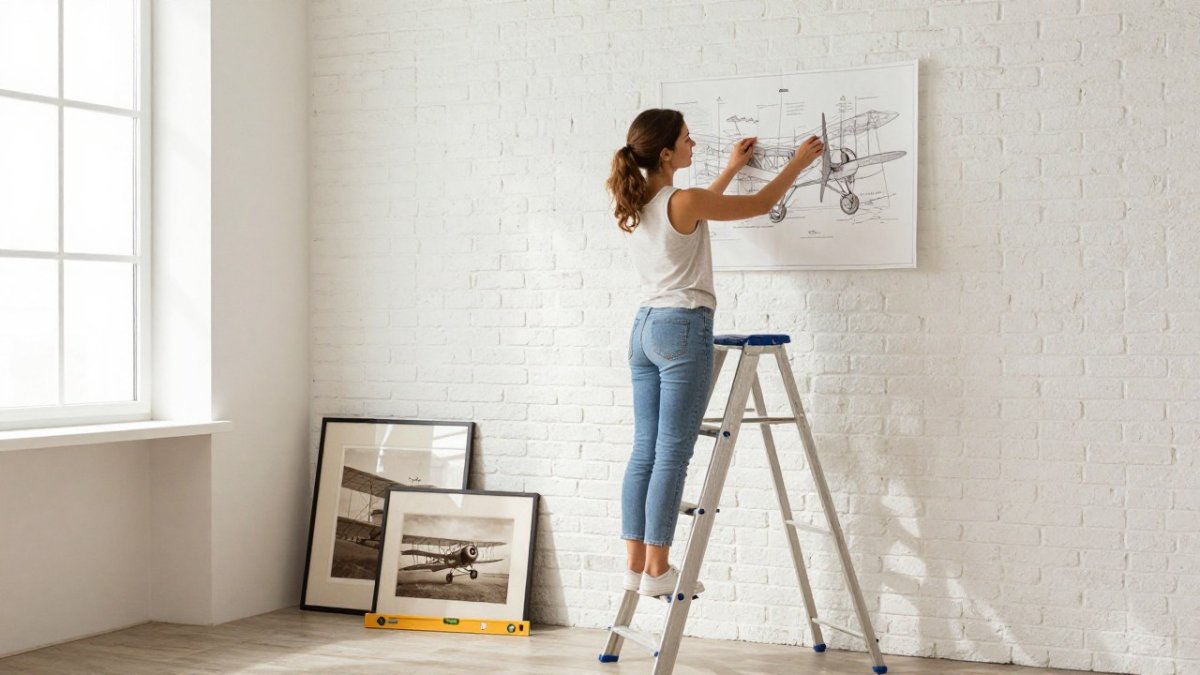
An asymmetric cluster suits a wider accent wall above the sofa. Start with one large anchor print, a 16x20 or 18x24 vintage travel poster or a large aircraft profile, then build outward with smaller framed prints. For deeper guidance on arranging and curating the group, see our guide on how to curate an art gallery wall at home.
Aviation clusters benefit from a visual hierarchy: put the most detailed or colorful piece at the anchor position, then surround it with quieter supporting pieces. Tape paper templates in place for a week before hanging; the cluster should feel balanced from the sofa, not just from standing in the middle of the room.
Watch out: an asymmetric cluster with too many pieces in a small room tends to read as clutter, especially when the prints are highly detailed. Fewer, larger pieces usually work better in compact rooms.
Gallery Wall Placement: Where Aviation Art Works Best in a Small Apartment
Gallery wall placement in a small apartment comes down to three reliable spots: above the sofa, above the bed, and along the entryway wall. Each gives aviation art a natural focal point without eating floor space.
- Above the sofa: center the group at eye level, roughly 57 to 60 inches from the floor.
- Above the bed: keep the bottom edge about 8 to 10 inches above the headboard.
- Entryway: a vertical column of three prints uses narrow wall width well.
- Staircase display: step frames upward following the incline.
Avoid hanging art where a door swings or where a radiator sits below. If you love vintage pieces, our post on styling vintage aviation art in modern homes shows how older prints settle into modern rooms.
Three reliable spots give aviation art a natural focal point without eating floor space.
| Spot | Placement rule |
|---|---|
| Above the sofa | Center the group at eye level, roughly 57 to 60 inches from the floor |
| Above the bed | Keep the bottom edge about 8 to 10 inches above the headboard |
| Entryway | A vertical column of three prints uses narrow wall width well |
| Staircase display | Step frames upward following the incline |
Choosing Frames and Prints for a Cohesive Aviation Display
A cohesive aviation display depends on two choices: a limited frame palette and a clear print theme. Pick one or two frame finishes, such as black and natural wood, and repeat them across the group. Matching frames calm a busy mix of aircraft illustrations, sectional charts, and vintage posters.
For the prints themselves, decide on a theme before you buy:
- Historic aircraft: a timeline of one era or manufacturer.
- Flight maps and sectional charts: graphic and abstract, good for grids.
- Instrument grids: orderly and technical, ideal for small frames.
- Shadow boxes: add depth and hold small memorabilia.
Lightweight framing matters in apartments. It is easier to hang and kinder to rental walls. If you are unsure about proportions, our guide on how to choose frame size for wall art walks through standard sizes and measuring tips. For a full styling walkthrough, read how to style aviation art prints.
Renter-Friendly Gallery Wall Ideas for Aviation Lovers
Renter-friendly gallery wall ideas for aviation lovers rely on damage-free hardware and light frames, but aviation displays add a wrinkle most renter guides ignore: shadow boxes, framed sectional charts, and memorabilia displays can be heavier and deeper than standard art prints, and they need mounting methods that hold without leaving large holes. Command-style strips, adhesive hooks rated for the frame weight, and picture ledges all work without nails.
Here is how to match the method to the object:
- Standard framed prints (under 5 pounds): adhesive strips rated above the frame's weight work well on smooth, clean walls. Use two strips per small frame and four per larger frame, and press firmly for the full recommended time before hanging.
- Framed sectional charts and larger prints (5 to 15 pounds): adhesive hooks or a combination of strips and hooks distribute the load better than strips alone. Check the package rating and add a margin, a 10-pound frame on 15-pound-rated hardware is a safer bet than one on 10-pound-rated hardware.
- Shadow boxes and memorabilia displays: these are often deeper and heavier, and adhesive alone is risky. A picture ledge sized for the box depth lets you lean the shadow box rather than hang it, which keeps the wall intact. If you must hang a shadow box, use a damage-free hook rated well above its weight and mount it into a stud if one is available behind the drywall.
- Floating shelves: a shelf anchored with damage-free brackets can hold several light frames and small aviation objects, but keep the total load within the bracket rating and distribute weight evenly.
- Leaning on a console: larger prints and framed charts can lean against the wall on a console or bookcase, which requires no hardware at all and suits rental spaces.
Watch out: adhesive strips fail on textured, dusty, or freshly painted walls, and they can also fail on walls with high humidity such as bathrooms. Clean the wall, let paint cure fully, and test a strip with light weight before trusting it with a shadow box.
Building a Gallery Wall Around a TV Without Clutter
Building a gallery wall around a TV works when the art frames the screen instead of competing with it. Treat the television as one dark rectangle in the composition. Keep frames symmetric on both sides, and leave clear space above the screen so the group does not feel top-heavy.
A few rules keep it clean:
- Match frame heights on the left and right of the TV.
- Keep spacing consistent with the rest of the wall.
- Choose muted prints near the screen to reduce visual noise.
- Skip art directly above the TV if the wall is short.
The goal is balance. The screen should feel built into the display, not buried by it.
Lighting, Glare, and Preserving Aviation Prints
Glare is the quiet enemy of aviation prints. Place frames away from direct sun, or use glass with an anti-reflective coating. Papers and inks fade fastest in strong ultraviolet light, so a spot that gets hours of direct afternoon sun is the wrong wall for a treasured piece.
- Hang away from direct sun and heat sources.
- Use UV-filtering glass or acrylic where possible.
- Add a small picture light for evening viewing.
- Keep frames off damp exterior walls.
- Dust with a dry, soft cloth only.
For more on caring for older pieces, read our tips on preserving antique art in modern homes.
Shop the Runway & Heirloom Aviation Collection for Your First Layout
Your first layout is easier with art chosen for the wall you actually have. Runway & Heirloom offers prints inspired by aviation history, from historic aircraft to women in aviation, so a small display can still tell a full story. Start with three to five pieces, then build.
A simple starting checklist:
- Measure the wall and mark the usable zone
- Pick a layout: tight grid or asymmetric cluster
- Choose one or two frame finishes
- Select three to five prints with a shared theme
- Tape paper templates before hanging
- Use renter-safe hardware if needed
Our Historic Aviation Prints and Women in Aviation collections give you a natural theme to build around. Browse the collection and choose pieces that speak to you.
Small apartments ask for discipline, not less art. Measure first, choose a layout that fits the wall, and let a tight theme carry the display. Runway & Heirloom can help with curated aviation prints, lightweight framing guidance, and themed collections that make a compact wall feel intentional. Get started with Runway & Heirloom and build a gallery wall that tells your story.
Frequently Asked Questions
How do you arrange aviation gallery walls in a small apartment?
Start with a paper template on the floor. For narrow walls, use a tight grid of three to five pieces in matching frames. For above a sofa, try an asymmetric cluster with the largest print centered at eye level. Keep spacing consistent between frames. Measure the wall width first, then scale your arrangement to leave comfortable breathing room on each side.
Where should a gallery wall go in a small living room?
The best gallery wall placement in a small living room is usually above the sofa, on a narrow wall beside a window, or in an entryway alcove. Avoid hanging art where it competes with a TV or a busy doorway. In rentals, choose a wall you can patch easily, or use removable adhesive strips. A vertical arrangement draws the eye upward and makes low ceilings feel taller.
How can renters hang aviation art without damaging walls?
Renters can use removable adhesive strips rated for the frame weight, or a picture ledge that rests on the floor or a shelf. For heavier pieces, try tension rods inside an alcove or a leaning display on a console table. Always test adhesive strips on a hidden patch first. Keep frames lightweight, and avoid nails unless your lease allows small holes that you patch before moving out.
Can you create a gallery wall around a TV?
Yes, but keep the TV as the focal point. Arrange frames in a balanced ring or a tight grid on either side, leaving at least 2 to 3 inches between the TV edge and the nearest frame. Use matching frames and a limited color palette so the display feels intentional. Avoid hanging art directly above the TV, where glare and cable clutter can distract.