 how-to
Vintage Aesthetic Wall Art for Beginners: 2026 Guide
Last Updated: October 23, 2026
Quick Summary
Vintage aesthetic wall art is artwork chosen for the mood of an earlier era, whether an original from that period or a modern print in that style. For beginners, vintage-inspired prints are usually the smarter first purchase, giving you the retro palette without the fragility, foxing, or hunt of authentic vintage pieces.
- Authentic vintage paper often shows even toning, tiny foxing spots, or a deckled edge, while reprints look uniformly bright.
- Aim for art to fill roughly two-thirds to three-quarters of your empty wall space.
- Split your budget roughly 50 percent to art, 30 percent to frames and mats, and 20 percent to hardware and lighting.
- A realistic first-wall budget of $150 to $400 covers three to five unframed prints plus basic frames.
- Keep 2 to 3 inches between frames and center the arrangement 57 to 60 inches from the floor.
Table of Contents
- Start Here: What Vintage Aesthetic Wall Art Really Means
- Vintage Wall Art Ideas by Era and Style
- How to Choose Prints: Sizing, Budget, and Sourcing
- How to Arrange a Gallery Wall Without the Guesswork
- Gallery Wall Layout Ideas That Fit Real Rooms
- How to Mix Vintage and Modern Decor
- Framing, Hanging, and Preserving Your Prints
- Common Beginner Mistakes to Avoid
- Frequently Asked Questions
Start Here: What Vintage Aesthetic Wall Art Really Means
Vintage aesthetic wall art is artwork chosen for the mood of an earlier era: the color, composition, and character of mid-century, retro, and nostalgic design, whether an original from that period or a modern print in that style.
Here is the practical split that matters more than any label.
Authentic Vintage vs. Vintage-Inspired Prints
Authentic vintage means the piece was produced during the era it evokes. A 1950s travel poster or mid-century landscape lithograph carries age, patina, and a paper that has yellowed in a way no reproduction fakes well.
Vintage-inspired prints are new pieces designed in that visual language, giving you the retro palette without the fragility, foxing, or hunt. If you are weighing the two, our guide to whether vintage art decor is worth the investment breaks down the trade-offs.
How to tell them apart before you buy:
- Look at the paper edge. Genuine vintage paper often shows even toning, tiny foxing spots, or a deckled edge. Reprints look uniformly bright.
- Check the printing method. Old posters were usually offset or stone lithograph; modern reproductions are typically digital giclée. A loupe or phone zoom reveals dot patterns on older offset work.
- Read the fine print. A copyright line, a modern publisher mark, or a "printed in" note dated recently tells you it is a reproduction.
The Library of Congress guide to identifying and caring for prints and photographs is a genuinely useful reference if you want to learn what period printing actually looks like up close.
For a beginner's first wall, vintage-inspired is not a compromise. It is a sensible entry point.
Vintage Wall Art Ideas by Era and Style
Picking an era first is the fastest way to narrow an overwhelming market. Each decade has a signature palette and subject, and matching one to your room does most of the styling work.
1950s, 1960s, and 1970s Looks
1950s style leans optimistic: pastel kitchens, atomic-age motifs, travel posters, and clean, simple shapes. It reads bright and cheerful.
1960s style gets bolder. Think saturated color blocking, op-art patterns, space-age themes, and graphic poster design.
1970s style is the warmest of the three: earth tones, mustard and burnt orange, rustic landscapes, and a looser, hand-made feel. If your room already has wood tones and warm textiles, 1970s prints settle in easily.
Landscapes, Night Scenes, and Nostalgic Tones
Beyond decade, subject matter drives the mood. Rustic landscapes feel calm and grounding, suiting bedrooms and reading corners; night scenes bring drama and depth and hold a wall on their own.
Fashion imagery and classic cars add personality and wit; historic aircraft prints do the same with real historical weight.
A note on color: build around a color palette of two or three nostalgic tones, not ten. Pull them from your rug, your upholstery, or one piece you already love. Composition follows from there.
How to Choose Prints: Sizing, Budget, and Sourcing
Start with the wall, not the print. Measure the width and height of the empty space, then aim for art to fill roughly two-thirds to three-quarters of it. That single rule prevents the most common beginner error: art that is far too small for the wall.
Match print size to the space:
| Space | Suggested Print Size | Notes |
|---|---|---|
| Small accent wall or above a desk | 8x10 to 11x14 in | Pairs well in twos |
| Above a sofa or bed | 18x24 to 24x36 in | Single statement piece |
| Large open wall | 24x36 in and up, or a set | Gallery wall territory |
| Narrow hallway | 11x14 to 16x20 in | Hang in a row |
A Beginner's Budget That Actually Works
Set a total number before you shop, then split it roughly 50 percent to art, 30 percent to frames and mats, and 20 percent to hardware and lighting.
A realistic first-wall budget in the $150 to $400 range covers three to five unframed prints in the 11x14 to 18x24 in range plus basic frames. If you want a single larger statement piece, plan on $100 to $250 for the print and frame together. These are planning ranges, not quotes; check current listings before you commit.
Build the collection in stages. Buy the anchor piece first, live with it a few weeks, then add supporting prints that echo its palette. This spreads cost across months and prevents the mismatched-haul problem of buying five prints in one sitting.
Where to Source Vintage and Vintage-Inspired Prints
Different sources suit different goals:
- Print-on-demand marketplaces (Etsy, Society6, Redbubble) are the fastest route to vintage-inspired reproductions. Prices typically run $15 to $60 for an unframed print depending on size. Quality varies widely, so read reviews and look for sellers who show the actual print, not a mockup.
- Museum and archive shops (the Library of Congress, the Smithsonian, major art museum stores) sell authorized reproductions of period posters and photographs. Prices are higher, often $30 to $100 unframed, but the source and image quality are reliable.
- Estate sales, flea markets, and thrift stores are where authentic vintage turns up cheapest, often $5 to $40 for a framed piece. You need to inspect condition in person and accept that selection is unpredictable.
Whichever route you take, buy from sellers who show real photographs of the actual print, state the paper and printing method, and answer questions. For aviation and art-history subjects, browse our historic aviation prints to see how a themed collection is organized. Pricing depends on size, paper, and frame, so check the shop for current prices.
A Five-Step Buying Sequence for Beginners
- Measure the wall and write down the maximum width and height you can fill.
- Pick one era or palette so your purchases cohere.
- Set your total budget and split it across art, frames, and hardware.
- Buy the anchor piece first, then wait a week before buying supporting prints.
- Confirm the printing method and paper before checkout, and save the listing details for your records.
How to Arrange a Gallery Wall Without the Guesswork
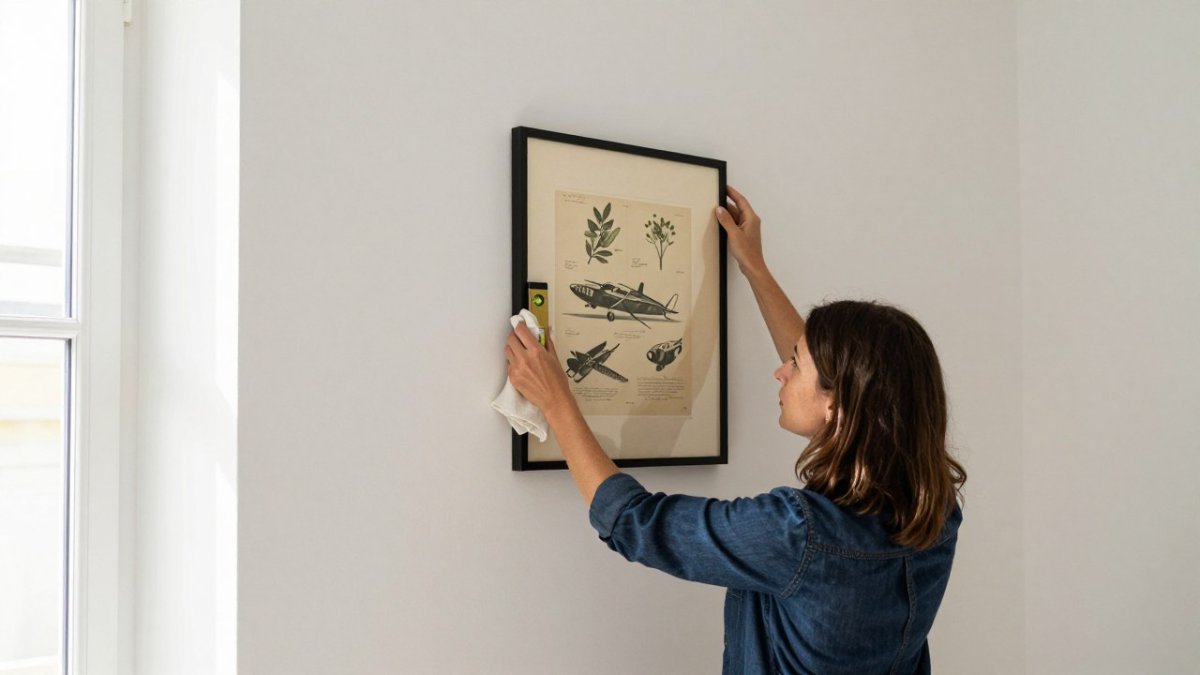
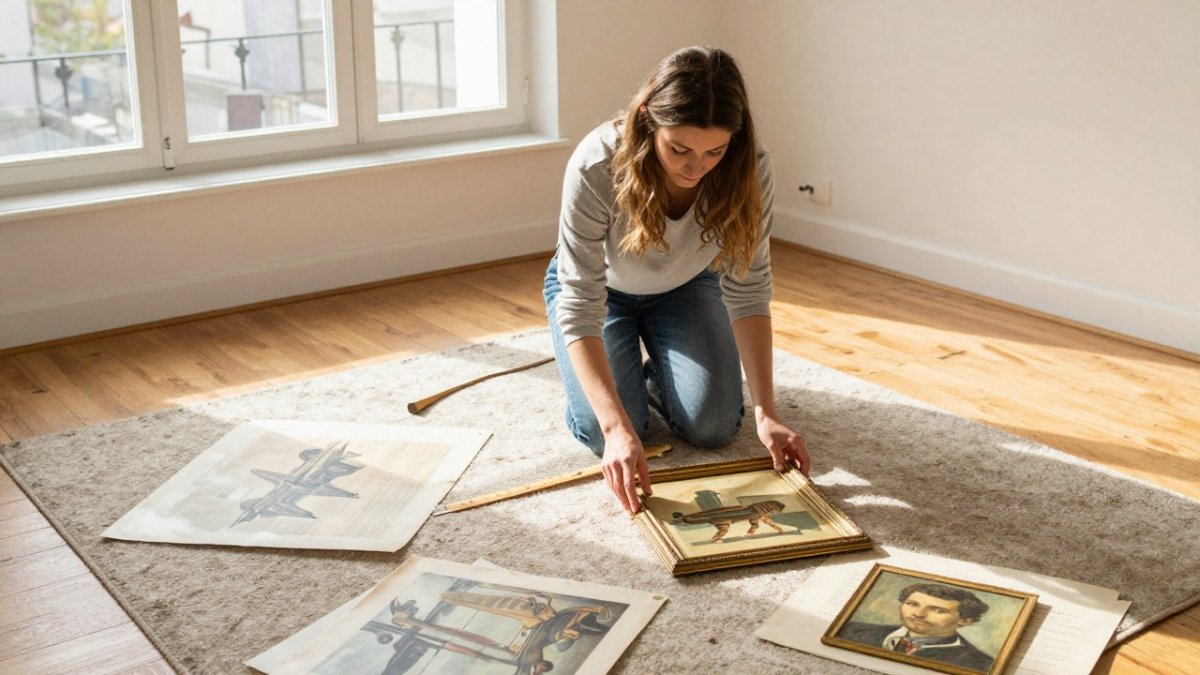
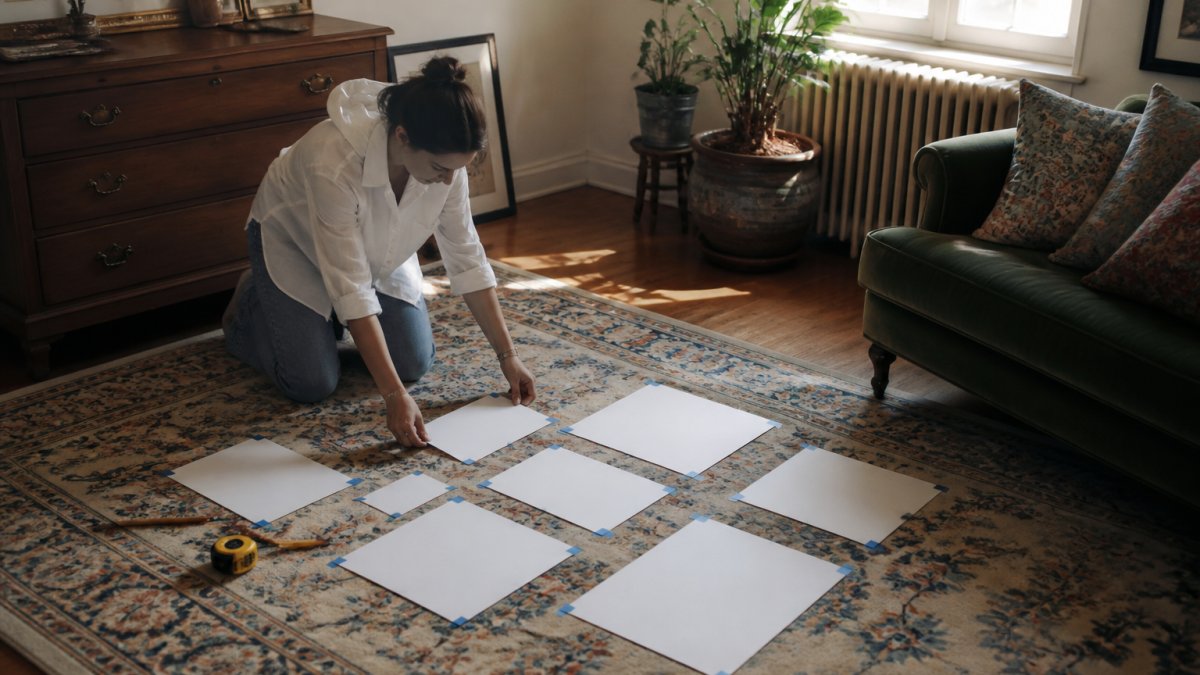
Plan on the floor or on paper before a single nail goes in. For a step-by-step method, see our gallery wall layout guide.
Work in this order:
- Choose an anchor piece. One larger print leads; everything else supports it.
- Cut paper templates. Trace each frame onto paper and tape the templates to the wall.
- Set consistent spacing. Two to three inches between frames is the standard that reads as intentional.
- Hang at eye level. The center of the arrangement should sit around 57 to 60 inches from the floor.
- Step back and check. Adjust before committing to hardware.
The Measurements That Prevent Rework
Spacing and alignment are where beginner gallery walls go wrong. Use these defaults:
- Between frames: 2 to 3 inches. Tighter than 2 inches looks cramped; wider than 4 inches and the group stops reading as one arrangement.
- Above furniture: 6 to 8 inches between the bottom of the lowest frame and the top of a sofa back or headboard.
- Center height: the middle of the whole arrangement at 57 to 60 inches from the floor, which is roughly eye level for most adults.
For a grid layout, mark the center of each frame on its template and use a level to align those marks. For an organic salon wall, keep the outer boundary roughly rectangular even though the interior is irregular; that invisible rectangle is what makes a mixed-size wall look deliberate.
Wall Types, Rentals, and Hardware
How you hang depends on the wall material and whether you can put holes in it.
- Drywall with wood studs: use a stud finder and drive screws into studs for anything heavier than about 20 pounds. For lighter frames, self-drilling drywall anchors are fine.
- Plaster or lath walls: these crumble easily. Pre-drill pilot holes and use anchors rated for the load, or hire a handyperson for a large arrangement.
- Brick or concrete: use masonry anchors and a masonry bit. This is the one case where a pro is often worth it.
A 24x36 inch framed print can weigh 10 to 20 pounds depending on the frame and glazing, so use two hooks spaced a few inches apart or a French cleat rather than a single nail.
Gallery Wall Layout Ideas That Fit Real Rooms
The layout should follow the furniture. Above a sofa, a horizontal arrangement works best: three pieces in a row or a loose grid. Above a bed, a symmetrical pair or single large print keeps the room calm. In a hallway, a vertical column of smaller prints draws the eye along.
A few layouts that hold up in ordinary rooms:
- The grid. Same-size frames in even rows. Formal, tidy, easy to hang.
- The salon wall. Mixed sizes filling a wall edge to edge. Best for a dedicated feature wall.
- The anchor and satellites. One large piece with smaller prints clustered around it.
How to Mix Vintage and Modern Decor
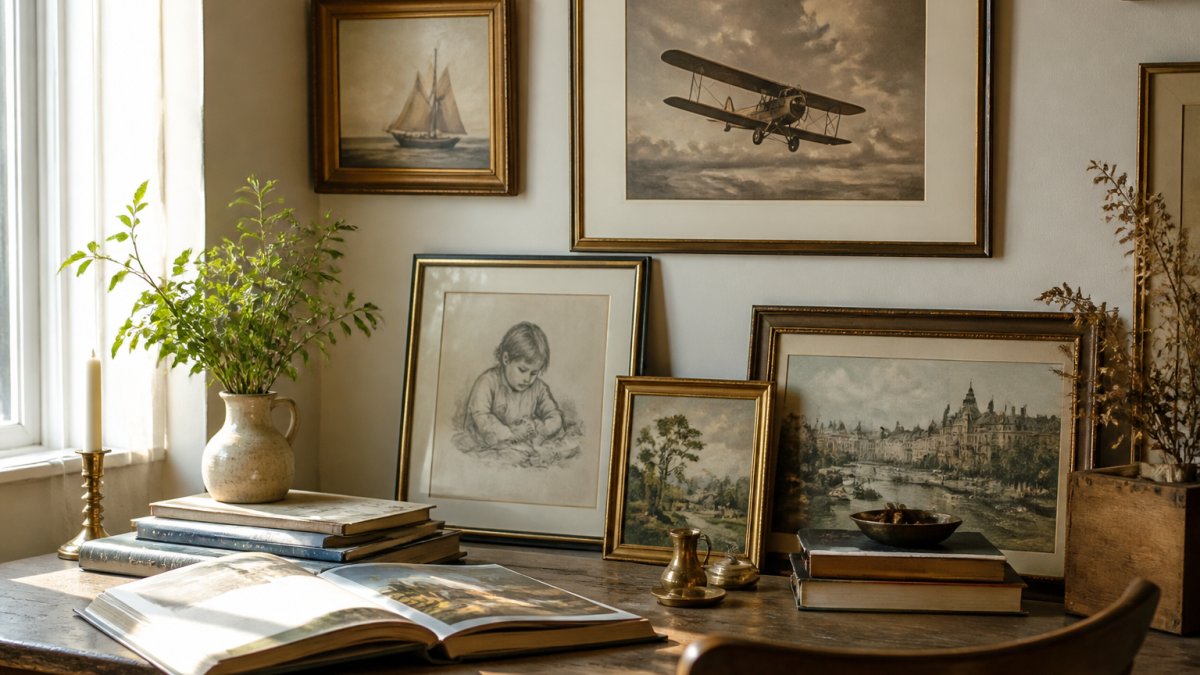
Vintage and modern mix well when you repeat something between them. These ways to mix art history and modern decor show how to blend eras with confidence. Pick one thread, color, frame finish, or subject, and let it run through both styles. A warm 1970s landscape in a clean modern frame bridges the two instantly.
Three approaches that work:
- Repeat the palette. Choose modern pieces in the same tones as your vintage prints.
- Unify the frames. Matching frames make wildly different artwork feel like one collection.
- Vary the scale. Pair a large modern abstract with small retro prints for contrast.
Framing, Hanging, and Preserving Your Prints
Framing decides how long a print lasts. Our guide to framing art for longevity covers archival materials and proper mounting in depth. Use acid-free mats and backing boards, and choose UV-protective glazing if the piece catches daylight.
Hanging hardware matters too: a 24x36 inch framed print is heavier than it looks, so use two hooks or a French cleat rather than one nail.
Common Beginner Mistakes to Avoid
The same handful of errors show up again and again. Avoiding them is most of the learning curve.
- Buying too small. Measure first, then size up from your instinct.
- Skipping the template stage. Nail holes are permanent; paper is not.
- Mixing too many eras at once. Pick one or two and let them lead.
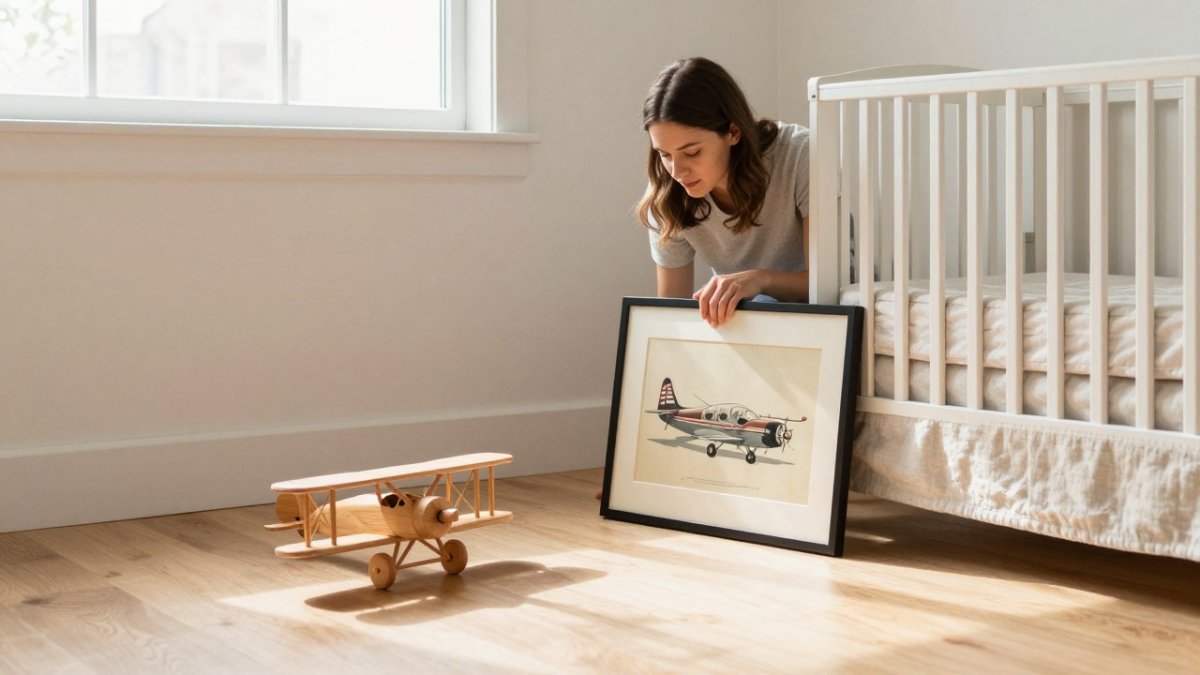
At Runway & Heirloom, the goal is simple: to help you discover art with personality, pieces chosen not merely to decorate a space, but to become part of its story. Browse our Art Deco prints for a period look, or our watercolor nursery art if the wall you are dressing belongs to a child.
Frequently Asked Questions
How do beginners start a vintage aesthetic wall art collection?
Start with one anchor piece you genuinely love, then build around it. Pick a loose era or color palette so the pieces relate to each other, and buy two or three prints at a time rather than filling a whole wall at once. Measure your wall before you shop, and keep a running list of sizes you still need. Buying slowly also gives you time to spot better pieces and avoid a wall that looks like a single bulk order.
How do you arrange vintage prints on a wall?
Cut paper templates to the exact size of each frame and tape them to the wall before hanging anything. Keep 2 to 3 inches between frames so the group reads as one unit, and place the center of the arrangement at roughly eye level, around 57 to 60 inches from the floor. For a sofa or bed, leave 6 to 8 inches between the furniture and the bottom frame. Step back often and adjust the templates until the spacing feels even.
How do you mix vintage art with modern decor?
Let one element carry the vintage weight and keep everything else clean. A single large retro print above a modern sofa works better than five small ones crowding the same wall. Repeat a color from the room in the art, choose simple frames with thin profiles, and keep the surrounding furniture and textiles uncluttered. The contrast is what makes both styles look intentional rather than mismatched.
What frames look best with vintage-style wall art?
Thin black, warm wood, or brushed brass frames suit most vintage-inspired prints because they stay out of the way of the image. Avoid heavy ornate frames unless the print itself is ornate. Use the same frame style across a gallery wall to tie mismatched eras together, and pick matting in off-white or cream rather than bright white. Consistent framing does more for a wall than matching the artwork perfectly.
Building a wall you love comes down to a few decisions made in the right order: era, size, budget, layout, then framing. Runway & Heirloom curates prints across art history, aviation, and childhood themes so beginners can find a piece that already fits their story, with real photographs of every print and clear details on paper and printing. Get started with RunwayandHeirloomArt and turn an empty wall into something with character.