 how-to
7 Steps to Create a Nostalgic Gallery Wall in 2026
Last Updated: October 26, 2026
Quick Summary
To create a nostalgic gallery wall, start with a memory or era as your theme, then plan a salon-style layout with a strong anchor piece and hang five to seven personal pieces. Build full-size paper templates, keep gaps of 2 to 3 inches edge to edge, and center the arrangement roughly 57 inches from the floor.
- Today's displays use five to seven pieces rather than a crowded grid.
- Keep the lowest frame at least 8 to 10 inches above a sofa back or console top.
- Place the salon-style anchor slightly below and off center, not dead center.
- Scan photos for 5 x 7 prints at roughly 1,500 x 2,100 pixels at 300 ppi.
- Print on acid-free paper and hang the reproduction, storing the original in an acid-free sleeve.
Table of Contents
- What You'll Need Before You Start
- How to Plan a Gallery Wall Around Nostalgia
- Gallery Wall Layout Ideas for Curated, Collected Displays
- Family Photo Gallery Wall Ideas: Curating and Restoring Old Images
- Mixing Frames, Print Sizes, and a Cohesive Nostalgic Palette
- Gallery Wall Spacing and Hanging Tips That Protect Your Wall
- Lighting and Preserving Sentimental Artwork
- Choosing Prints That Tell Your Story
- Frequently Asked Questions
What You'll Need Before You Start
A nostalgic gallery wall is a curated arrangement of framed art, photographs, and small objects that recalls a specific era, place, or memory. It works because it treats the wall as a story rather than a decoration scheme.
The 2026 approach is smaller and more personal than the busy walls of the past. A Frameology guide to bedroom gallery walls describes today's displays as five to seven pieces rather than a crowded grid.
Here is what you need before the first hook goes in:
- A tape measure, a pencil, and a spirit level
- Paper or cardstock for templates
- Painter's tape
- Picture hangers rated for your frame weights
- A layout sketch on paper
- Your shortlist of pieces, sorted into "must hang" and "maybe"
Watch out: skipping the paper template stage is the most common reason people end up with a wall of unnecessary holes.
How to Plan a Gallery Wall Around Nostalgia
Start with a memory, not a color scheme. Ask yourself what era or place you want the wall to recall, then build the piece list around that answer.
A memento-led approach is gaining ground. Homes & Gardens on the memento wall trend describes displays built around handwritten letters and travel souvenirs rather than framed art alone.
Plan in this order:
- Choose the memory or theme
- List the pieces you already own
- Note the gaps
- Measure the wall
- Sketch two layouts before committing
That order keeps you from buying frames for art you haven't chosen yet.
Gallery Wall Layout Ideas for Curated, Collected Displays
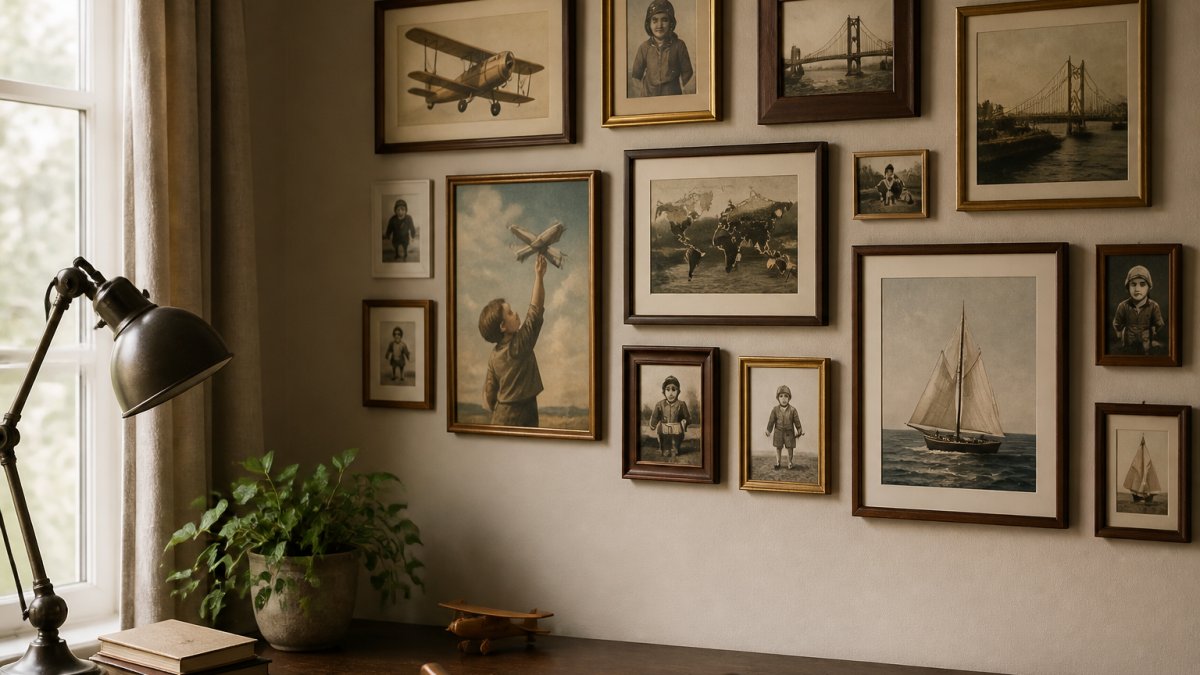
The best layout for a nostalgic wall is a salon-style arrangement with a strong center, because it lets mismatched pieces read as one collection. A grid layout suits uniform prints but fights the collected look most nostalgia seekers want.
Three layouts worth testing:
- Salon-style: one large anchor piece, smaller pieces radiating outward
- Grid: even rows, best for matched print sets
- Column: a vertical stack for narrow walls
Plan the wall on paper before you touch a hook. Measure the wall's width and height, then mark the usable zone, the area between furniture and ceiling that the arrangement can occupy.
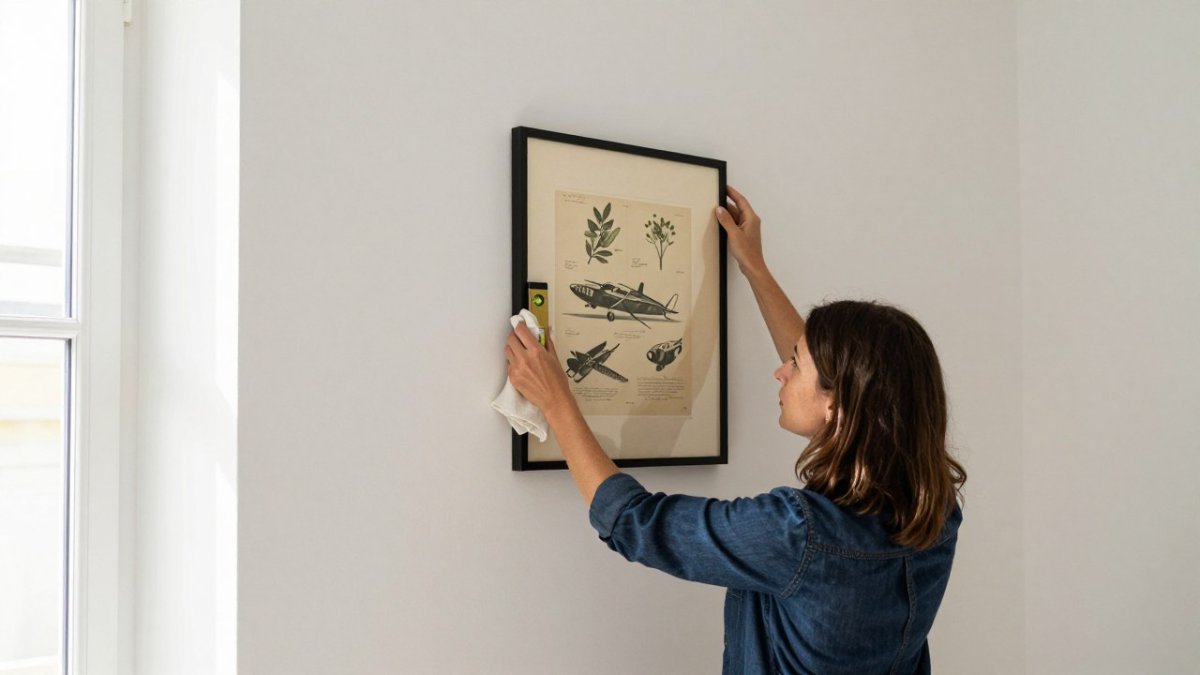
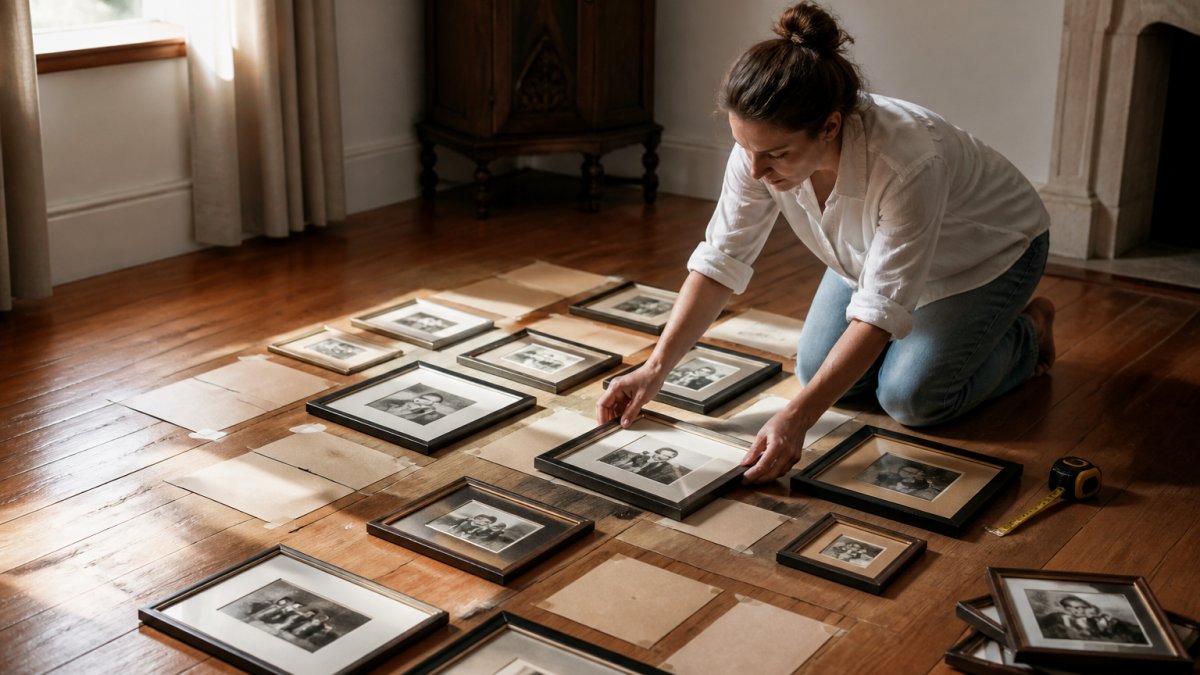
Build paper templates at full size. Cut a paper rectangle for each frame's outer dimensions, write the piece name on it, and tape the templates to the wall with painter's tape. This is the step that prevents a wall of unnecessary holes. Step back, photograph the wall straight-on, and look at the photo rather than the wall, the camera flattens the arrangement and makes imbalance obvious.
Place the anchor first. In a salon-style layout, the largest or most meaningful piece goes slightly below and left or right of center, not dead center. Smaller pieces radiate outward and downward from it. Keep the visual weight balanced: a heavy dark frame on one side needs a cluster of lighter pieces on the other.
Do the spacing math once. Choose a single gap, 2 to 3 inches edge to edge is standard, and repeat it everywhere. For a grid, measure from frame edge to frame edge, not center to center, so mixed frame widths still produce even gaps. For a column, keep the vertical gap consistent and align one edge of every frame.
Check the 57-inch rule. The center of the overall arrangement should sit at roughly 57 inches from the floor, the same guideline museums use for a single work. If the wall sits above furniture, measure from the furniture top instead and keep the arrangement's center 4 to 6 inches above it.
For a full walkthrough of arrangement patterns, see our guide on how to arrange a gallery wall.
Here are the layout and spacing rules the article gives for a collected, nostalgic wall.
| Item | Value | Note |
|---|---|---|
| Standard gap between frames | 2 to 3 inches | Measured edge to edge; repeat everywhere |
| Lowest frame above sofa or console | At least 8 to 10 inches | Above a sofa back or console top |
| Highest frame below ceiling | At least 6 inches | Top of highest frame |
| Center of arrangement height | Roughly 57 inches from floor | Same guideline museums use |
| Arrangement above furniture | Center 4 to 6 inches above furniture top | Measure from furniture top instead |
| Salon-style anchor placement | Slightly below and off center | Largest or most meaningful piece |
| Grid measuring method | Frame edge to frame edge | Not center to center |
Family Photo Gallery Wall Ideas: Curating and Restoring Old Images
Family photo walls work best when you mix eras: one formal portrait, one candid snapshot, one document such as a birth record or letter. The contrast is what makes the wall feel collected rather than assembled.
Most old photographs need work before they hang. The workflow below is the part most gallery-wall guides skip, and it is where a nostalgic wall either succeeds or looks like a pile of faded snapshots.
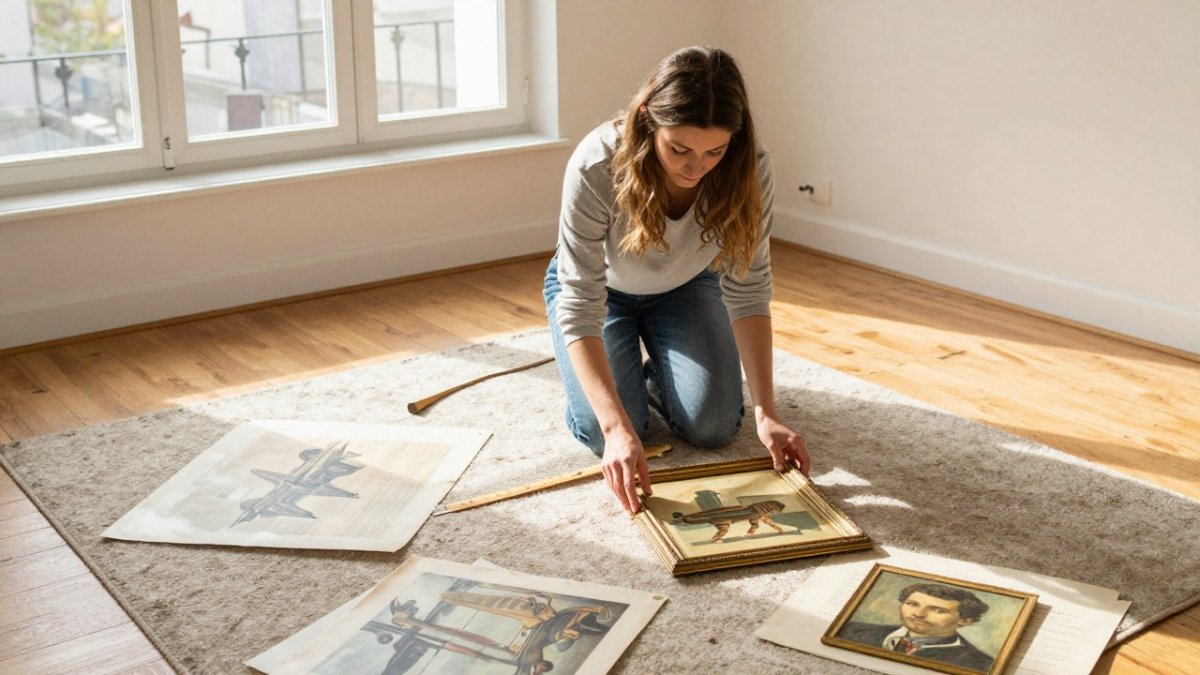
1. Sort before you scan. Lay every candidate photo on a table and group them by era and format (cabinet card, snapshot, Polaroid, print). Pull two or three from each group. A wall with eight photos from the same decade reads as a theme; a wall with one photo per decade reads as a life.
2. Scan at print resolution. A photo that will print at 5 x 7 inches needs roughly 1,500 x 2,100 pixels at 300 ppi. For an 8 x 10, aim for about 2,400 x 3,000 pixels.
3. Repair in stages. Work on a copy, never the original file. Fix in this order: crop and straighten, dust and scratch removal, tear repair, then tonal correction (contrast and fading). Save a master TIFF and export a print-ready JPEG.
4. Test-print one image before committing. Print a single 5 x 7 on the paper you intend to use and check skin tones and shadow detail under the room's actual lighting. Old photos often print warmer than they look on screen.
5. Print on archival paper. Look for papers labeled acid-free and, ideally, lignin-free. Matte or textured finishes hide the softness of low-resolution originals better than glossy stock. Our guide to printing wall art at home covers paper choice and printer settings in detail.
A practical rule: keep black-and-white portraits together in one cluster and color snapshots in another. Mixing them randomly muddies both. And keep the originals out of direct light, hang the reproduction, store the original in an acid-free sleeve.
Mixing Frames, Print Sizes, and a Cohesive Nostalgic Palette
Matching frames are no longer the default. A FRMD analysis of 2026 gallery wall trends argues that mixed frames create a more relaxed, contemporary result than a matched set.
Build cohesion through color instead of matching materials:
- Pick three tones from your photos, such as cream, walnut, and faded sage
- Repeat each tone at least twice across the wall
- Use dark wood frames for older pieces and lighter frames for newer ones
- Vary frame sizes but keep the mat widths consistent
If sizing art to frames is tripping you up, our guide on choosing frame size for wall art walks through the math.
Gallery Wall Spacing and Hanging Tips That Protect Your Wall
The standard spacing for a gallery wall is 2 to 3 inches between frames, measured edge to edge. Consistency matters more than the exact number. Pick one gap and repeat it everywhere.
Height is the other decision. Hang the center of the arrangement at eye level, roughly 57 inches from the floor, which is the same rule museums use for single works.
For renters, adhesive strips and damage-free hooks handle frames up to a modest weight. Anything heavier needs a real hanger. Watch out: adhesive strips fail on textured or freshly painted walls, so test one in a hidden spot first.
Lighting and Preserving Sentimental Artwork
Sentimental prints fade fastest in direct sun. Keep them off walls that take harsh afternoon light, or fit them with UV-filtering glass.
A few habits protect a wall for decades:
- Rotate pieces away from direct sun seasonally
- Use LED bulbs, which emit less UV than older bulbs
- Avoid hanging above a heat source
- Dust frames with a dry cloth, never a wet one
For the full method, read our seven steps to prevent art print fading.
Choosing Prints That Tell Your Story
The pieces that last on a nostalgic wall are the ones tied to something real: a childhood trip, a grandparent's trade, a first flight. Buy for the memory, not the trend.
At RunwayandHeirloomArt, our collection includes historic aviation prints, watercolor nursery art, and prints inspired by art history.
If you want a deeper look at selecting meaningful pieces, our guide on art prints that tell a story breaks down the process.
Frequently Asked Questions
What is the 2/3 rule for hanging pictures?
The 2/3 rule means artwork should hang so its center sits about 57 to 60 inches from the floor, roughly eye level for most adults. For a nostalgic gallery wall, treat the entire arrangement as one unit and center the whole cluster at that height rather than centering each frame. This keeps the display visually balanced even when frame sizes vary widely. Measure the group's total height, divide by two, and mark that midpoint on the wall before you hang anything.
How do you make a nostalgic gallery wall feel intentional instead of dated?
Anchor the arrangement with a clear color palette drawn from your own pieces, then repeat two or three frame finishes rather than scattering every style. Mixing frames can look relaxed and contemporary when the mix is deliberate. Add one focal piece so the eye has somewhere to land. Curated displays can read as collected rather than cluttered.
What is the best layout for a gallery wall with frames of different sizes?
Start with a grid or salon-style arrangement and adjust from there. A grid suits frames of similar proportions, while a salon-style layout handles mixed orientations and varying frame sizes. Tape paper templates to the wall first so you can test the arrangement without making holes. Keep gaps consistent: pick one measurement and hold it across every frame. Place your largest or most sentimental piece slightly off-center for visual balance.
How do you mix family photos, vintage-inspired prints, and keepsakes on one wall?
Group pieces by era or subject rather than scattering them randomly, so each cluster tells a story. Alternate black-and-white portraits with art prints and small mixed-media objects like a framed handwritten letter or a travel souvenir. Digitize and restore old photographs before printing so faded images hold up next to crisp new prints. Keep spacing uniform across the whole wall so the varied pieces still read as one cohesive arrangement.
Building a wall that feels like yours takes more than matching frames. It takes pieces with a past. RunwayandHeirloomArt curates prints across aviation, childhood, art history, and nostalgia, so you can build a display that means something. Browse the collection and find the piece your wall has been missing.